How to Fund Your Wallet From a Crypto Exchange


After browsing some of the Charitable Crowdfunding Campaigns on GoCryptoMe, you’ve found a genuine cause that you think is deserving of some support. But before you can donate and assist those in need, you’ll need to fund your crypto wallet.
In this quick guide, we’ll show you step-by-step how to fund your crypto wallet from an exchange. If you don’t want to sign up to crypto exchange just yet, you can always buy crypto with a credit card by following our helpful tutorial
What is a Crypto Exchange?
Before we get signed up to one of the safest crypto exchanges in the industry, let’s first dive into what a crypto exchange actually is. A crypto exchange is basically a website where you can buy and sell hundreds of different cryptocurrencies like Bitcoin and Ethereum. You can also easily convert your cryptocurrency back into your local fiat currency like USD or EUR.
There are plenty of different exchanges out there to choose from, so to help you know which one is best for you we’ve put together a simple comparison guide.
In this particular tutorial, we’ll be using Binance. Binance is one of the largest and most reputable crypto exchanges in the industry. Binance is known for having an enormous range of listed cryptocurrencies, as well as a simple and convenient interface that’s great for beginners.
Sign Up to a Crypto Exchange and Fund your Crypto Wallet
Step 1: Sign Up to Binance
The first thing you’ll need to do is to register an account on the Binance website. Binance has a separate website for US customers and the rest of the world, so click the link below depending on your location.
Sign Up to Binance.us
Sign Up to Binance.com
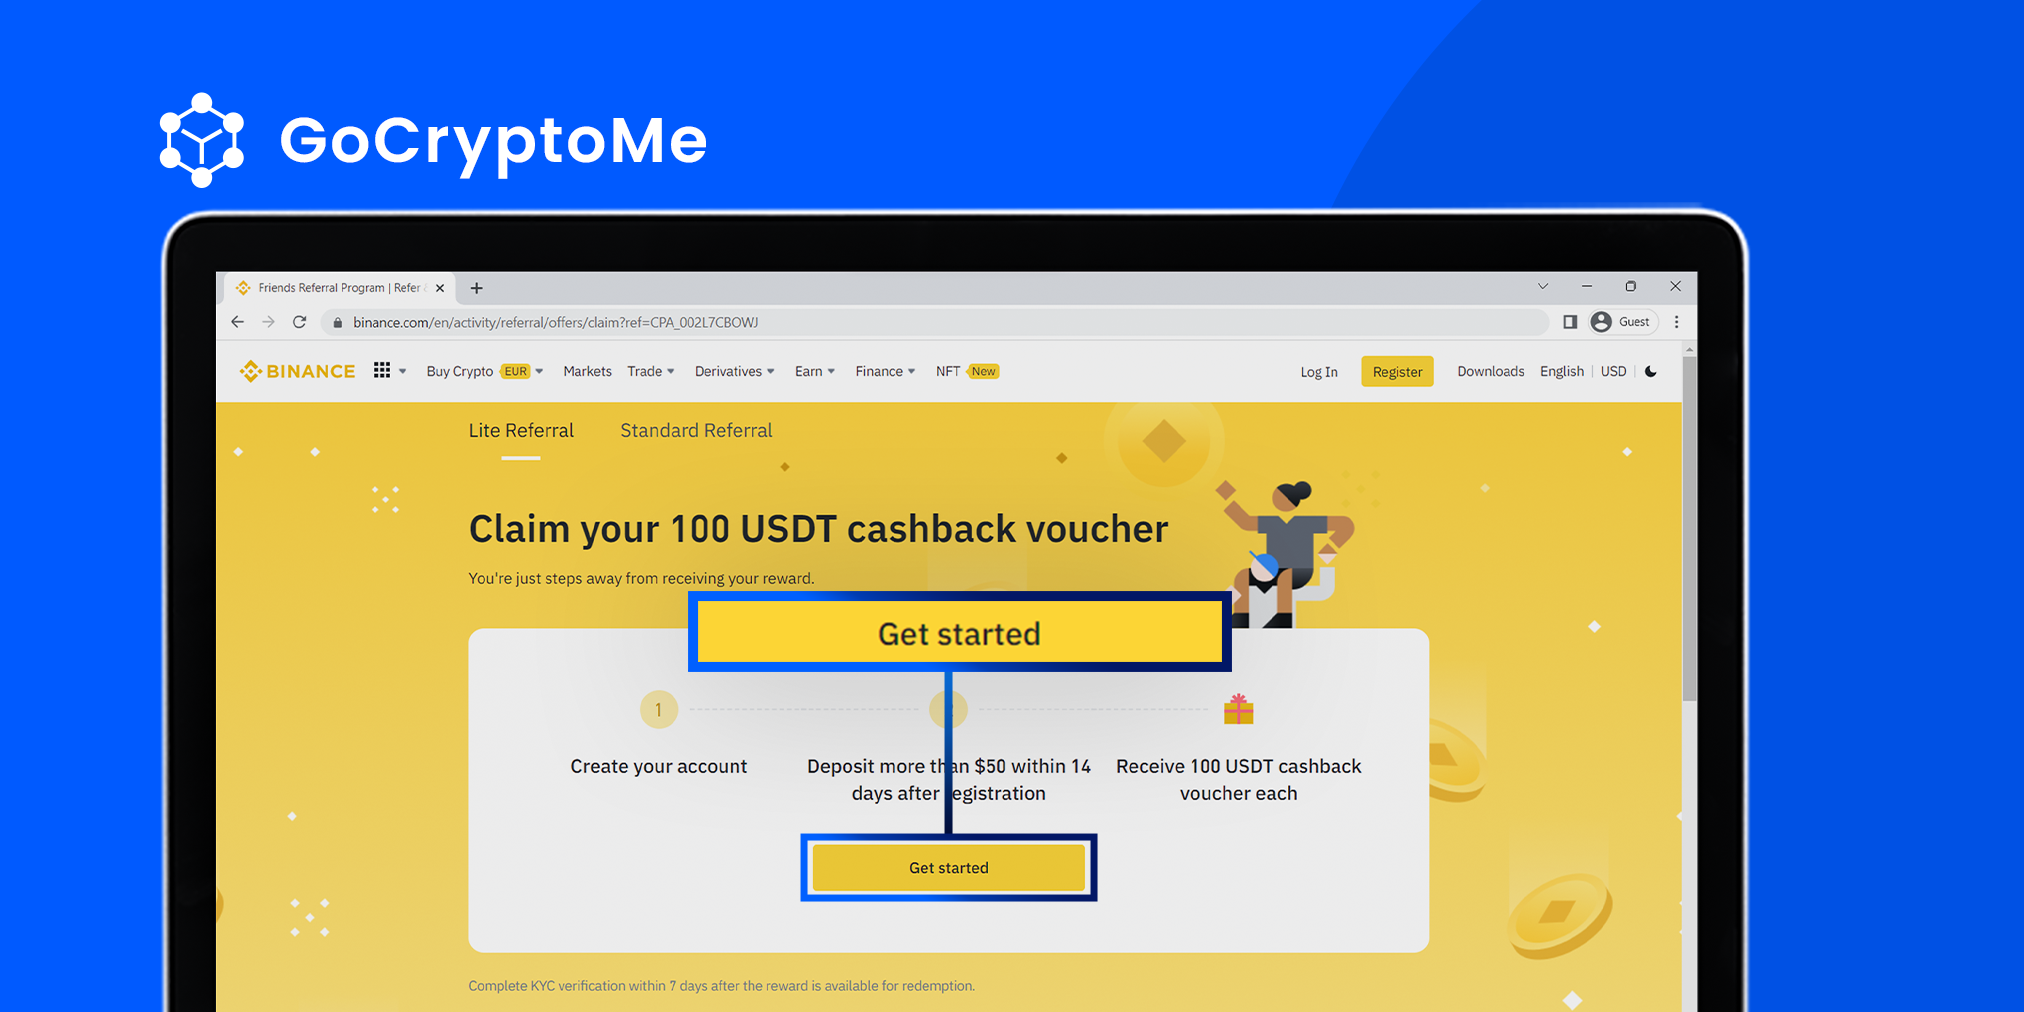
Depending on when you register Binance might be offering different promotions, such as offering you free cryptocurrency if you deposit a qualifying amount. Whenever you’re ready, just click ‘Get Started’ in the center of the page or click ‘Register’ in the menu at the top of the page.
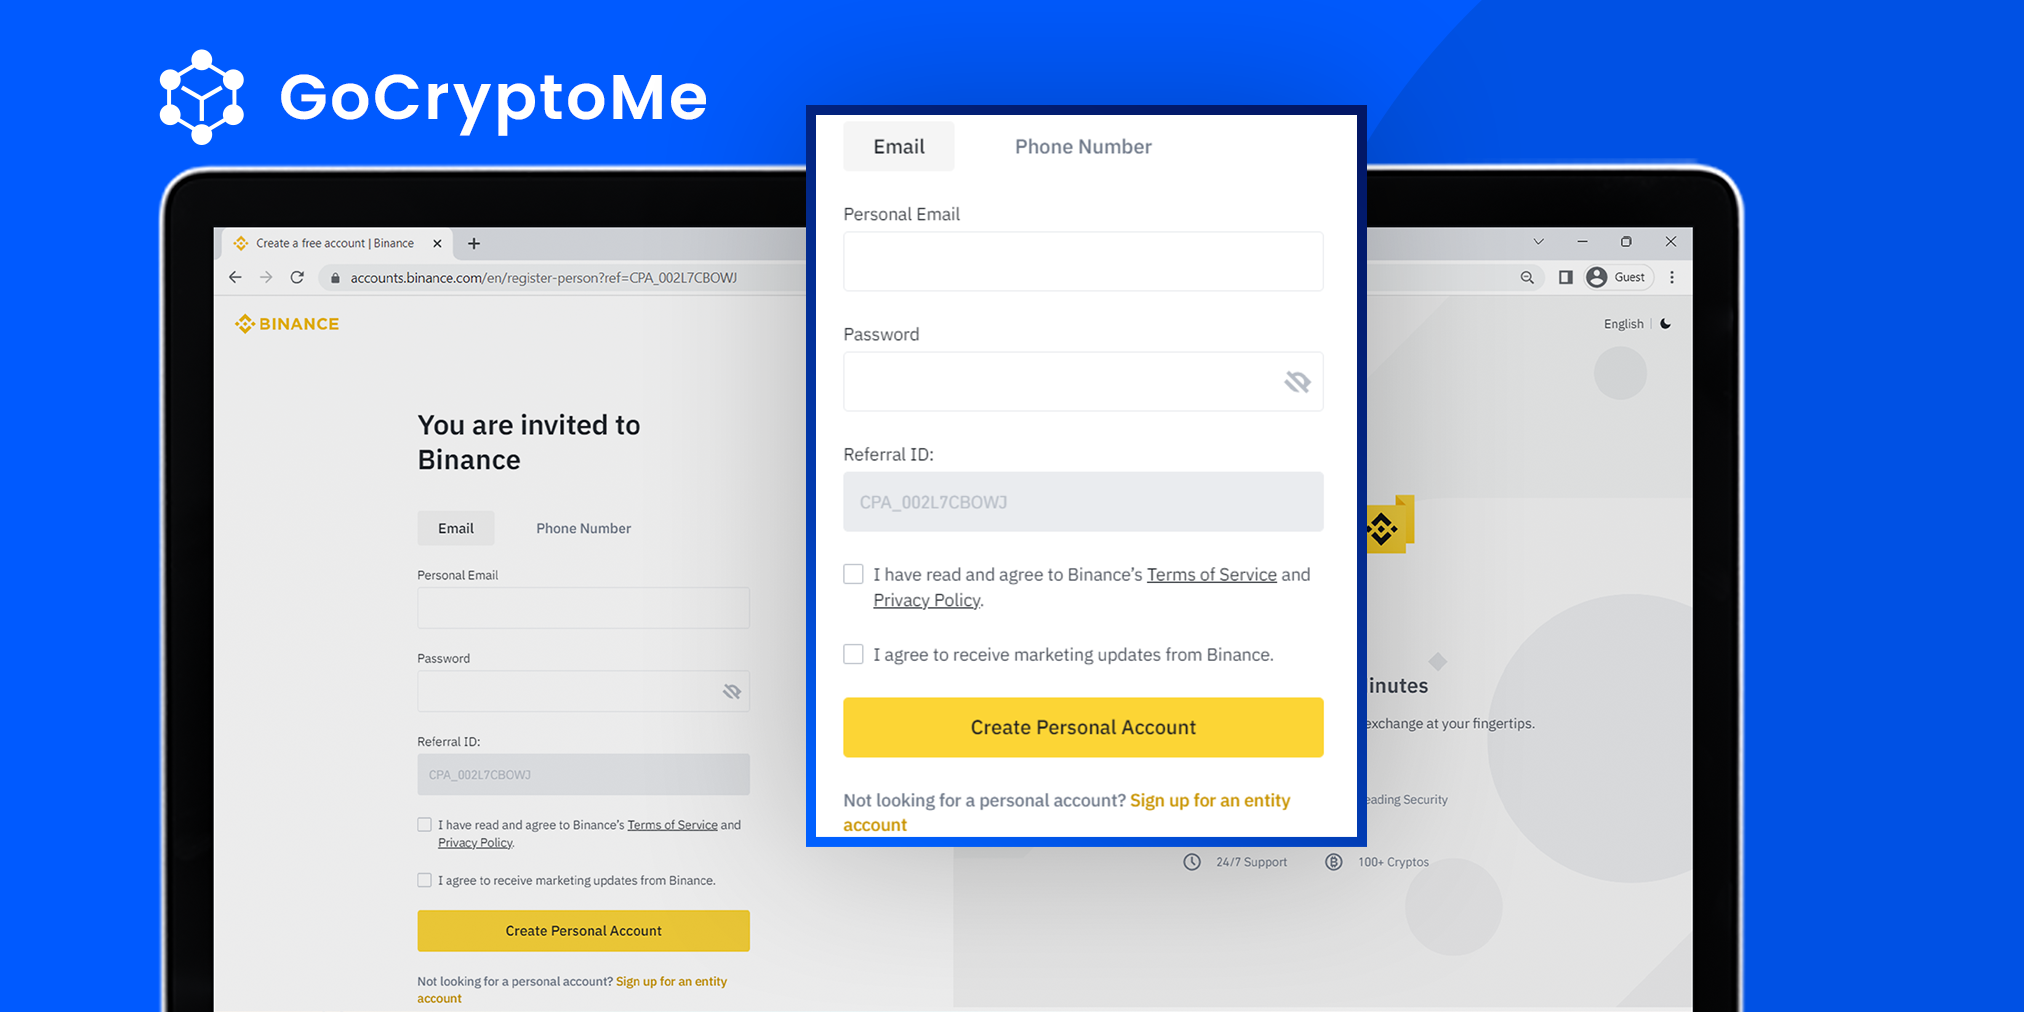
On the next page you’ll be given a couple of options. You can either sign up with a phone number or email address or continue with a Google or Apple account. Click whichever button suits you best. In this example, we’ll be signing up with an email address.

Type your email address or phone number into the fields provided. Then, follow the on-page instructions to create a secure and suitable password. Agree the Binance Terms of Service and Privacy Policy using the checkbox provided and click ‘Create Personal Account’.
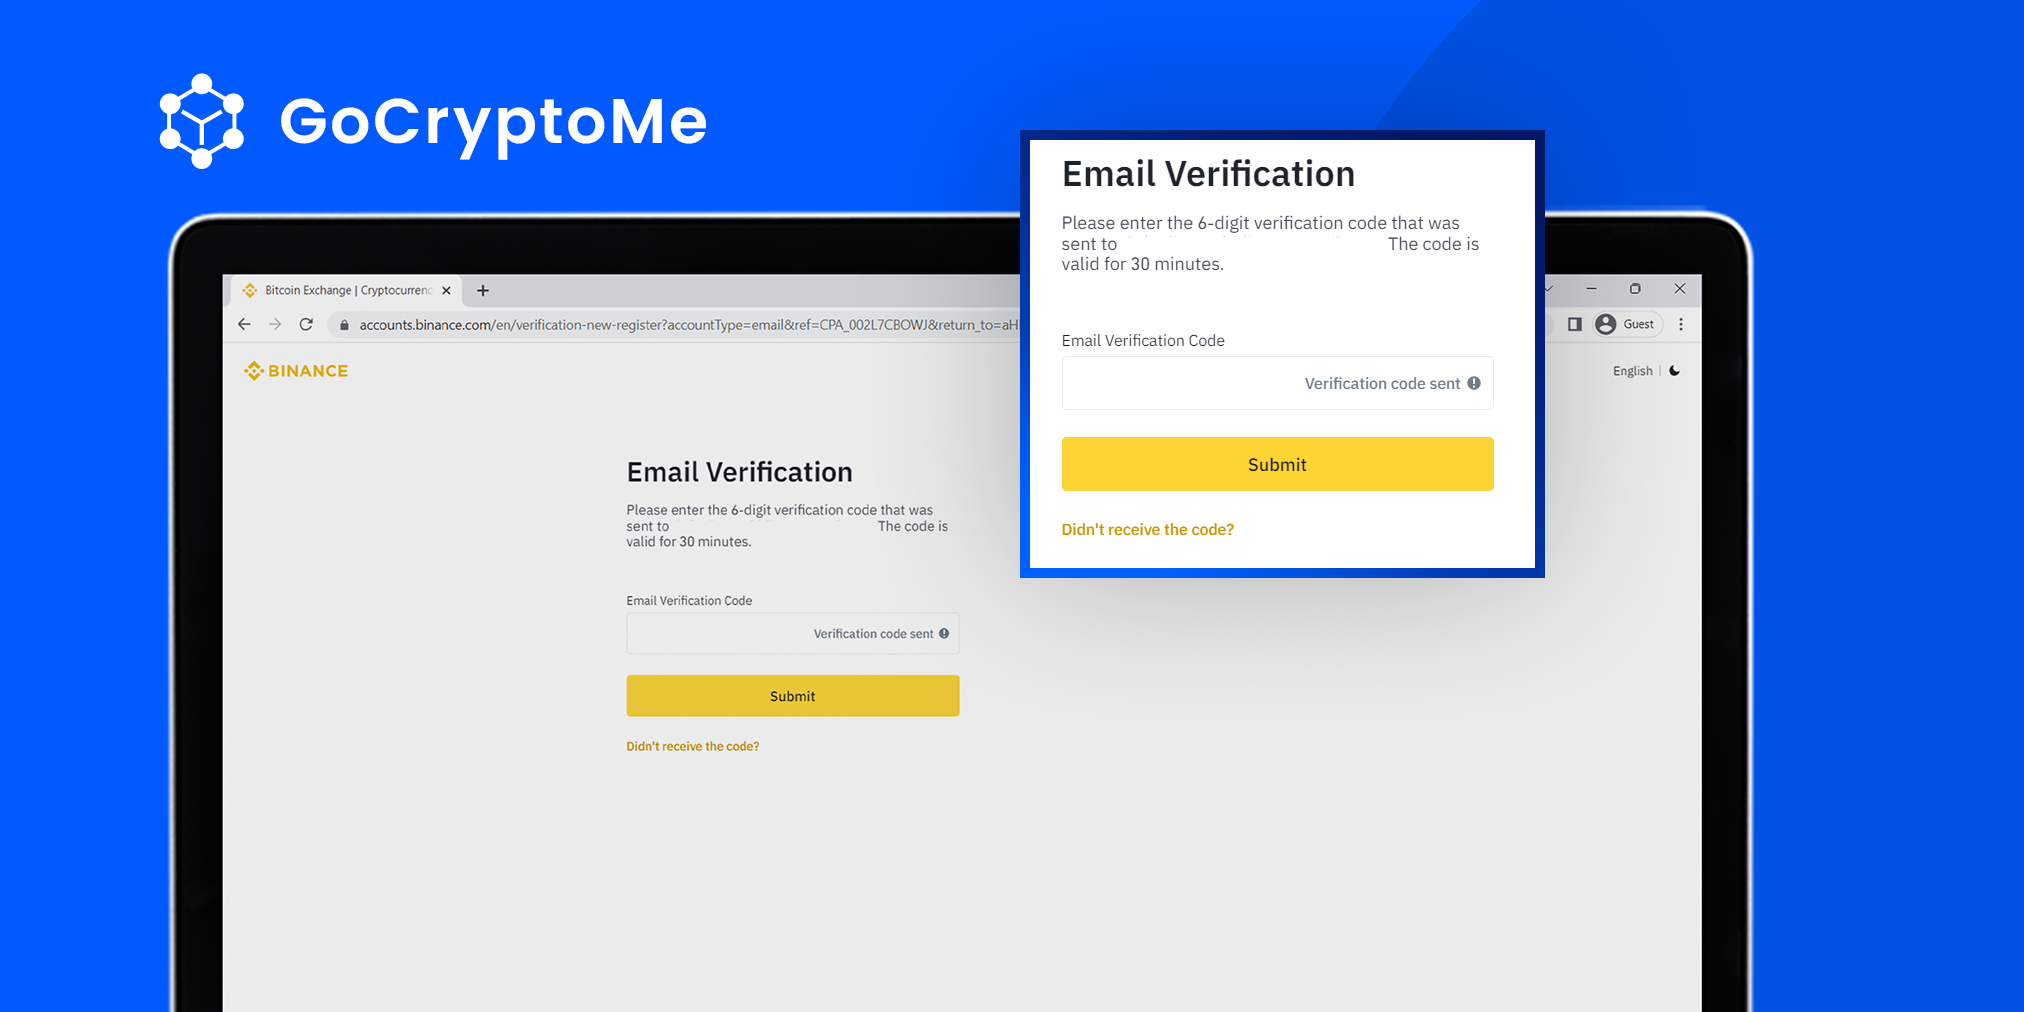
After a few seconds, you should receive a verification code to the email address or phone number you provided. Simply input the six digit code into the field provided and hit ‘Submit’.
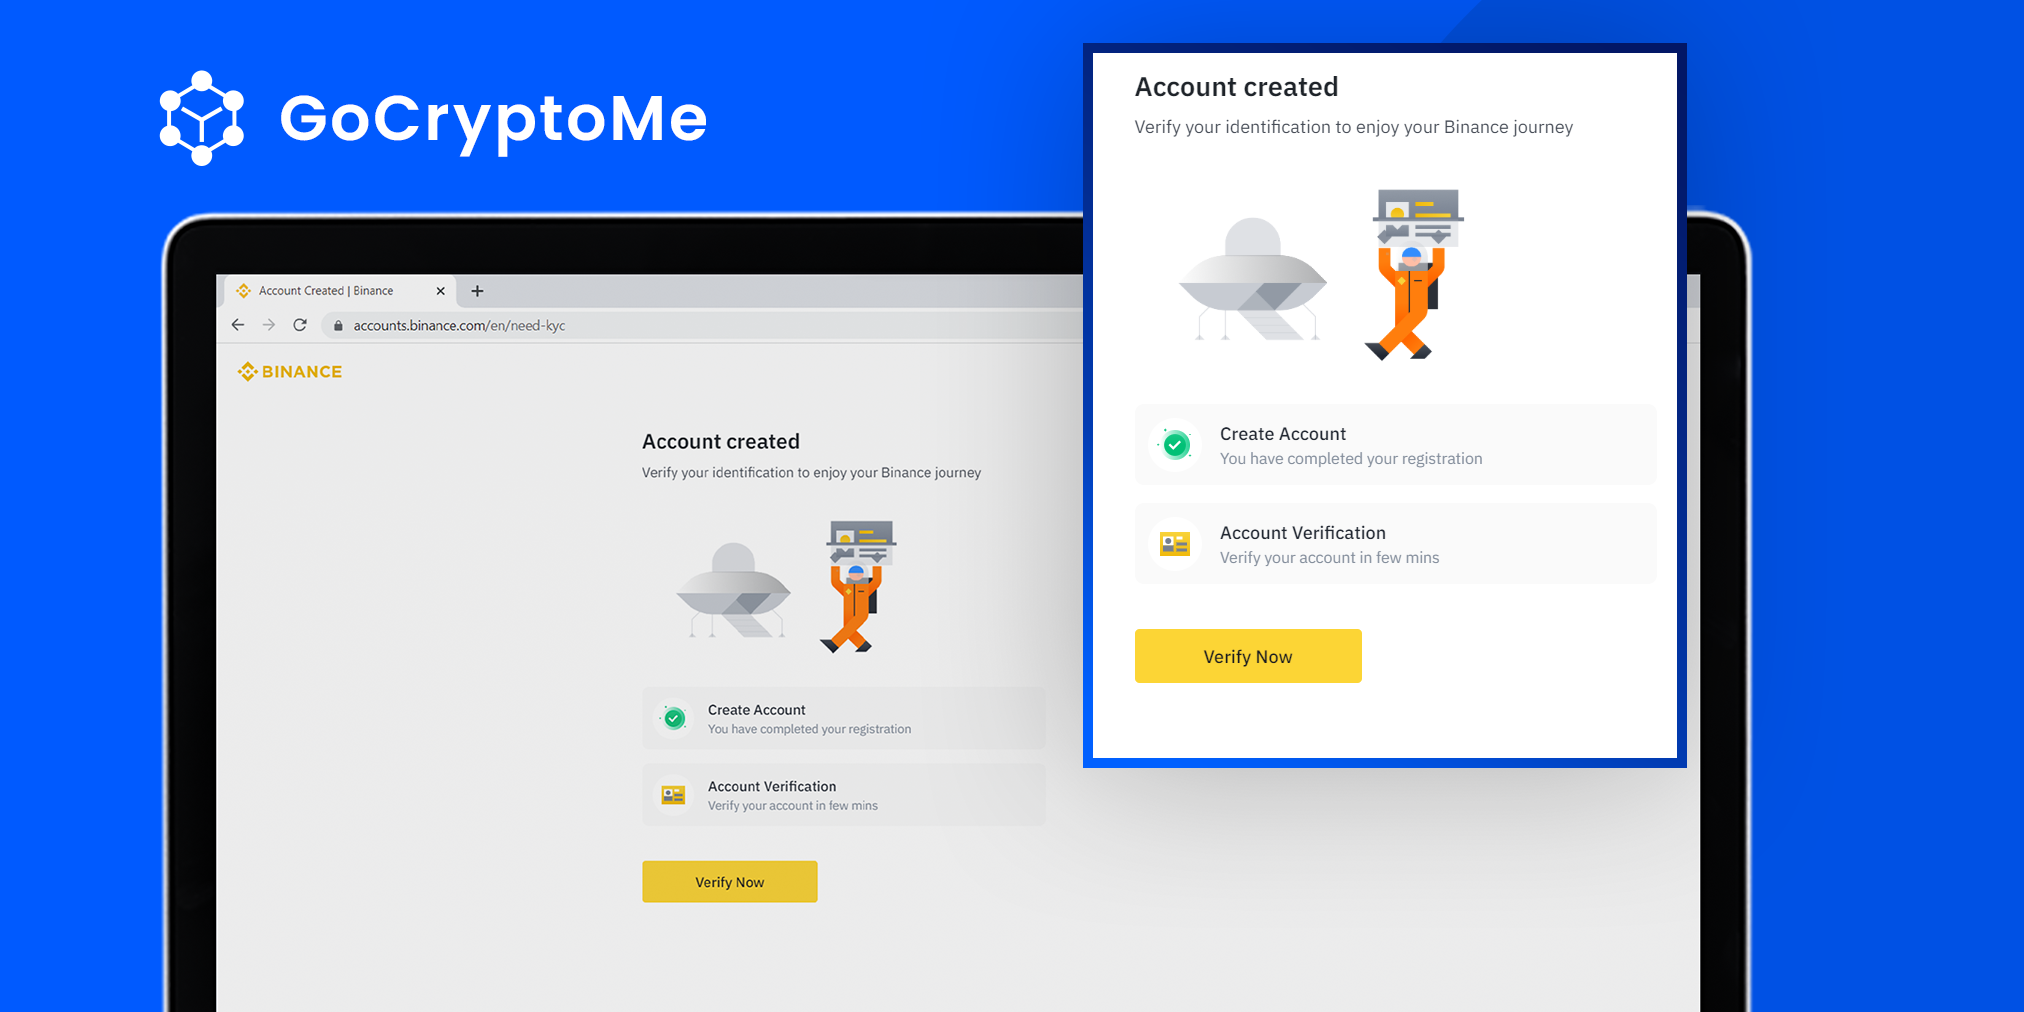
After correctly submitting the code, your account will have been successfully created. However, we can’t dive in and buy any cryptocurrency just yet. We’ll need to complete Binance’s KYC (Know Your Customer) verification first. Click ‘Verify Now’and proceed to the next step.
Step 2: Complete Binance KYC
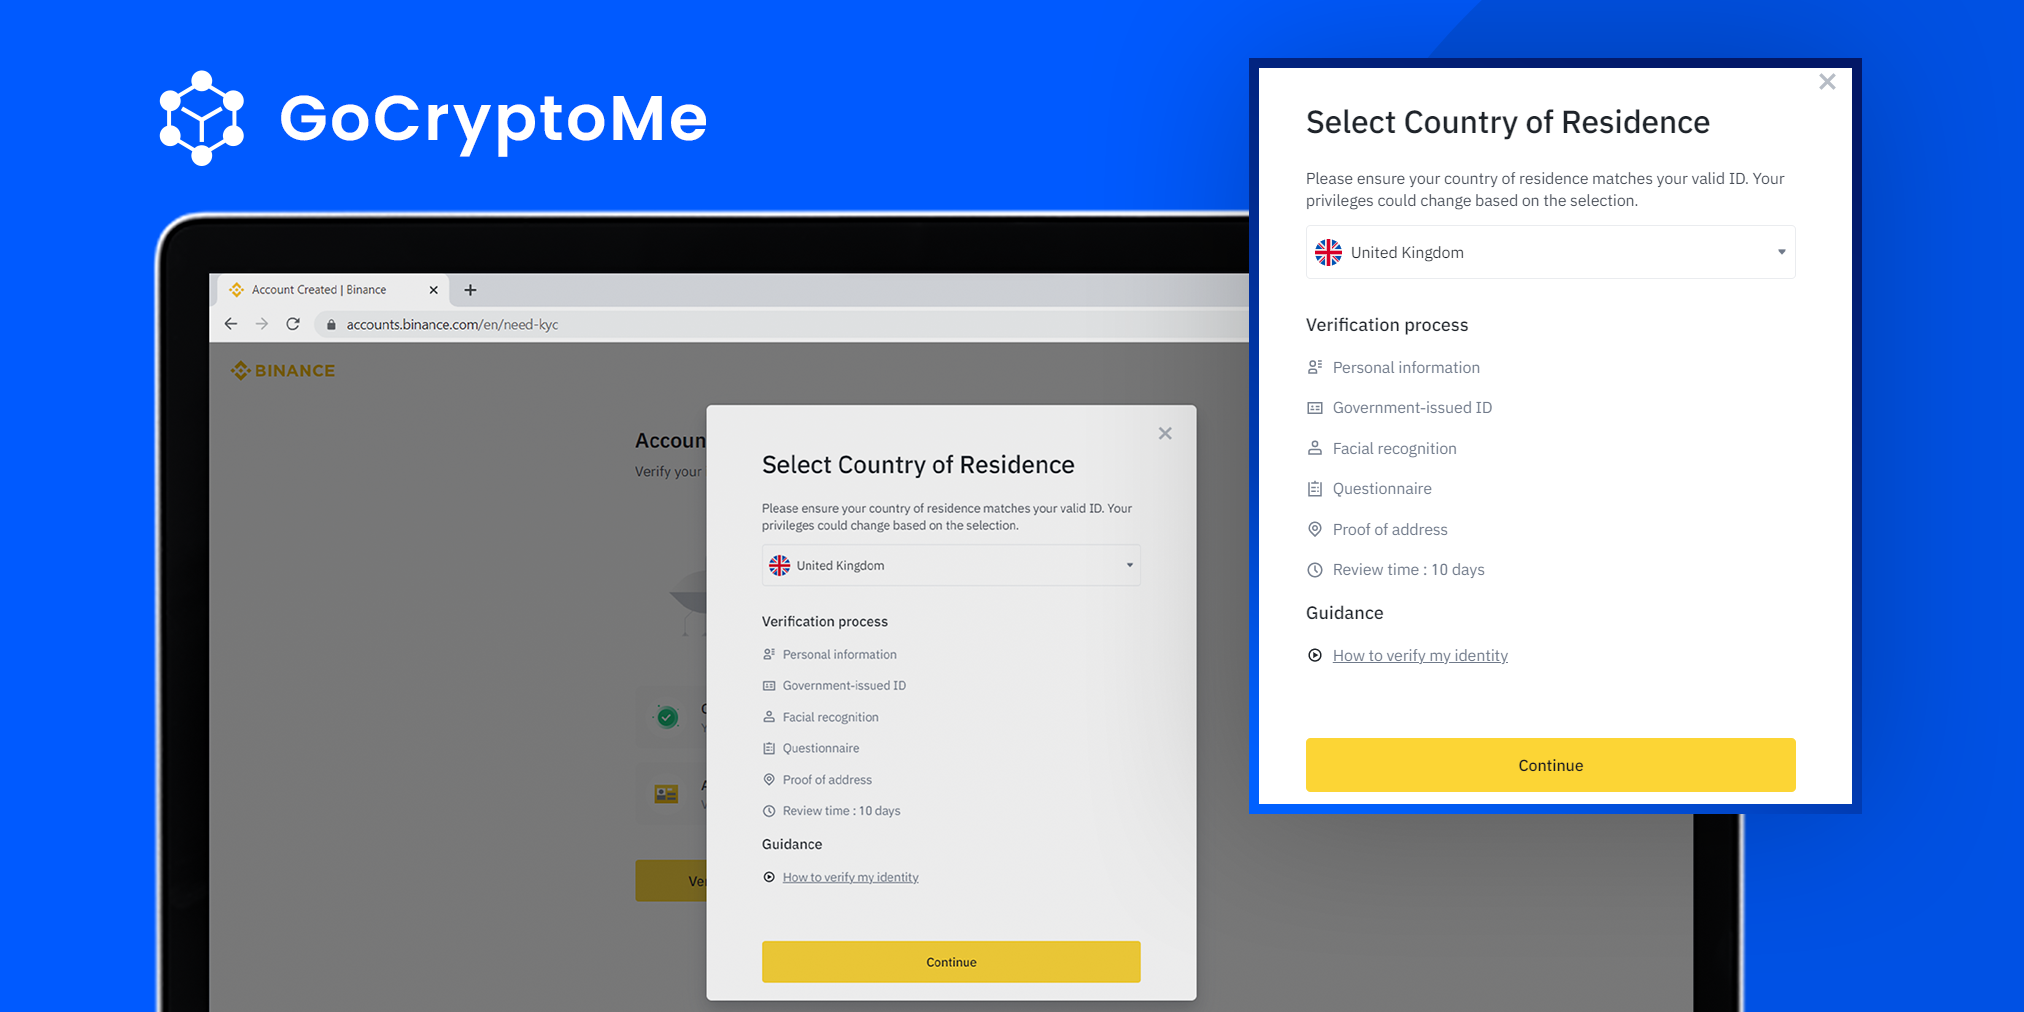
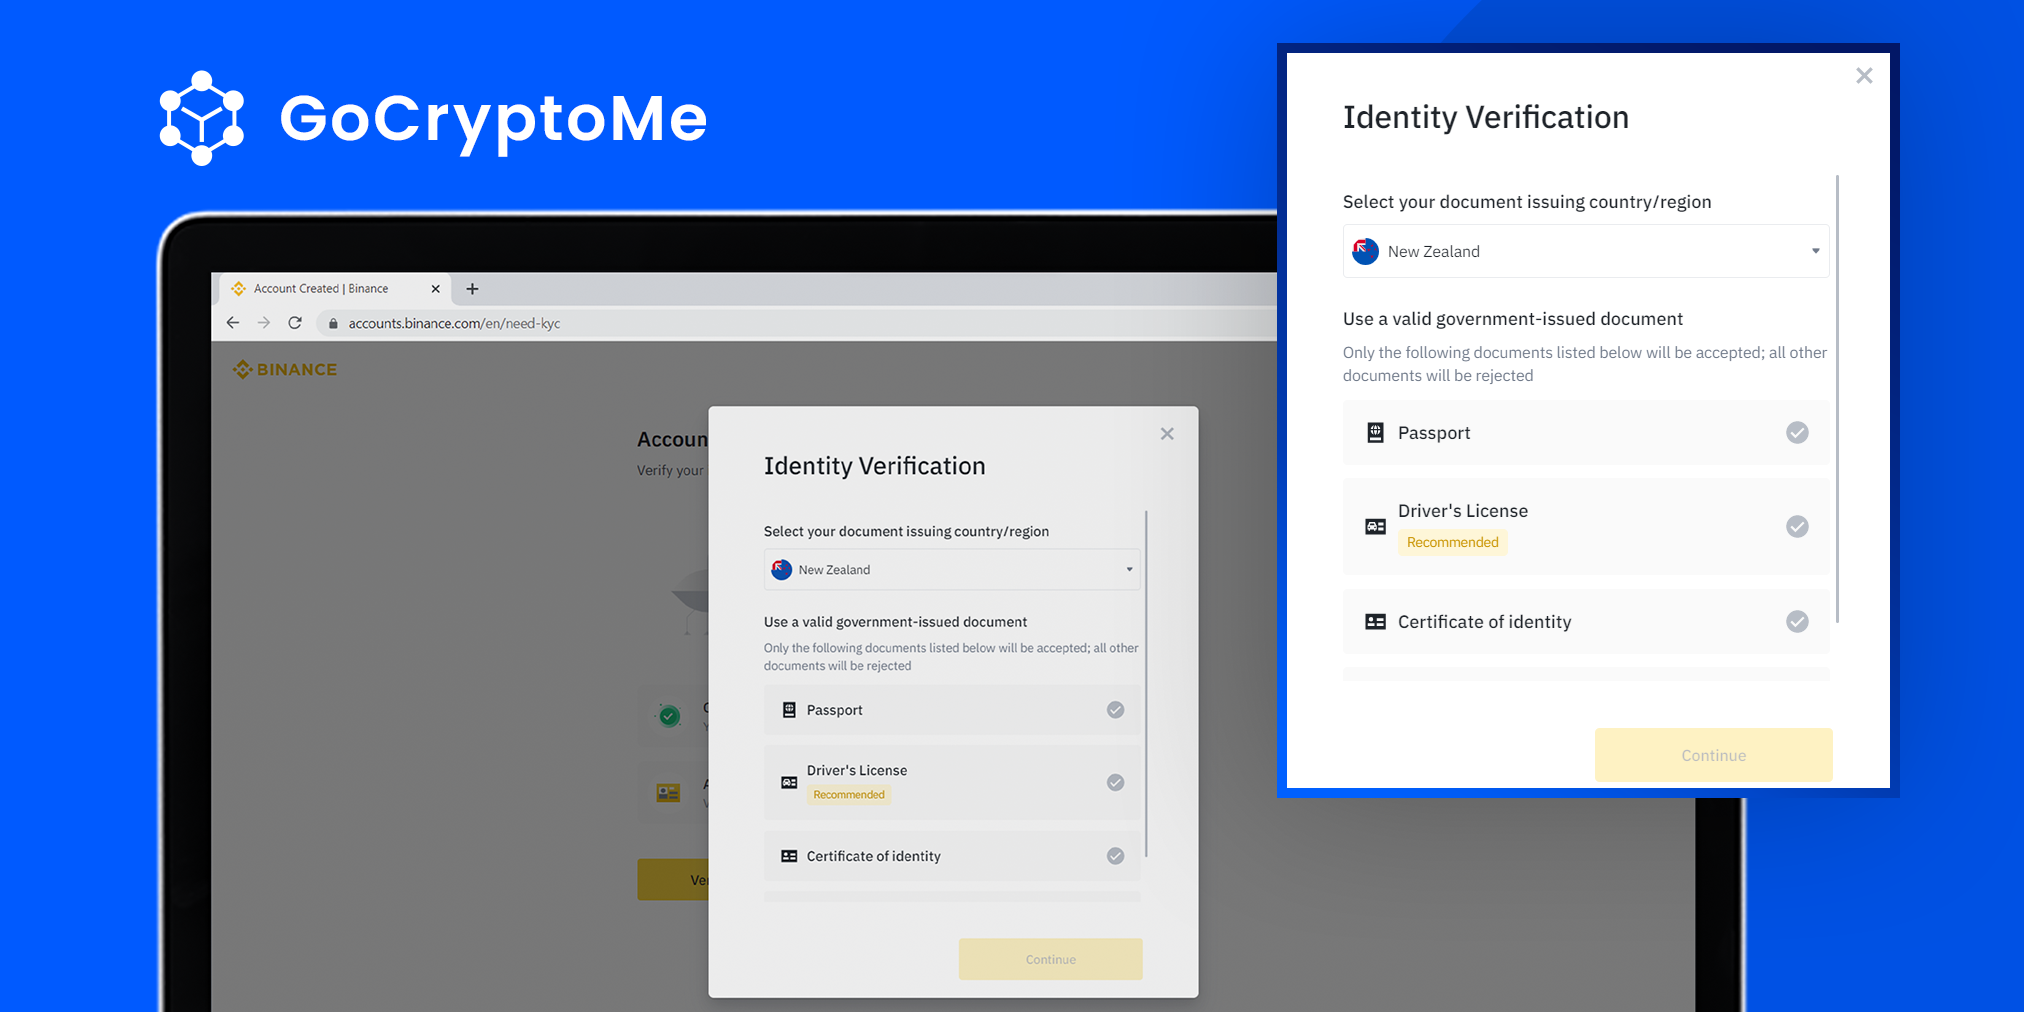
During this next step, you’ll need to provide a few identification documents such as a Passport or a Driver’s Licnece to Binance as part of their anti-fraud and security procedures. The requirements may be slightly different depending on your location. The process typically only takes around 10 minutes. When you have your documents ready, select your country of residence from the dropdown menu and click ‘Continue’.
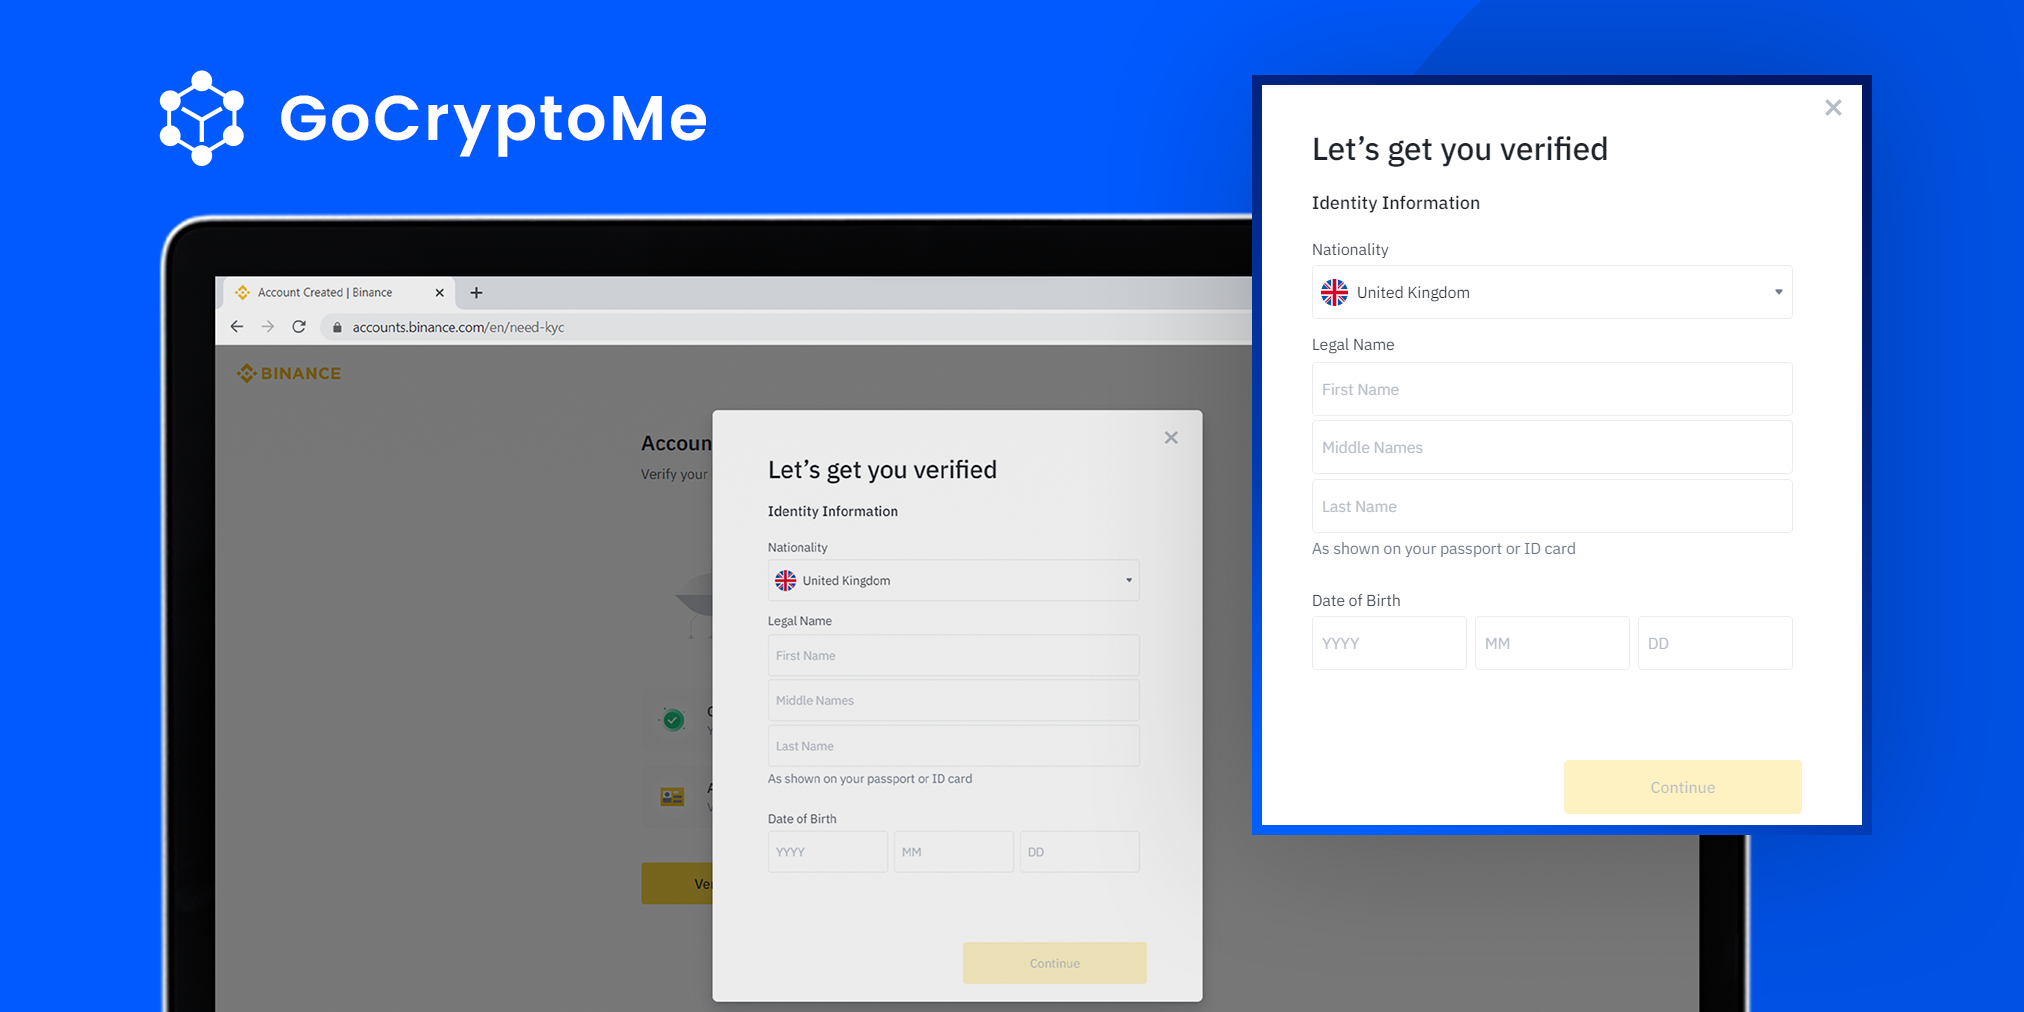
First, you’ll be asked for your basic details. This includes your Name, Date of Birth and Nationality. Fill in the boxes appropriately and click ‘Continue’.
Next, you’ll be asked to provide your physical address. Complete the fields with your relevant information and click ‘Continue’.

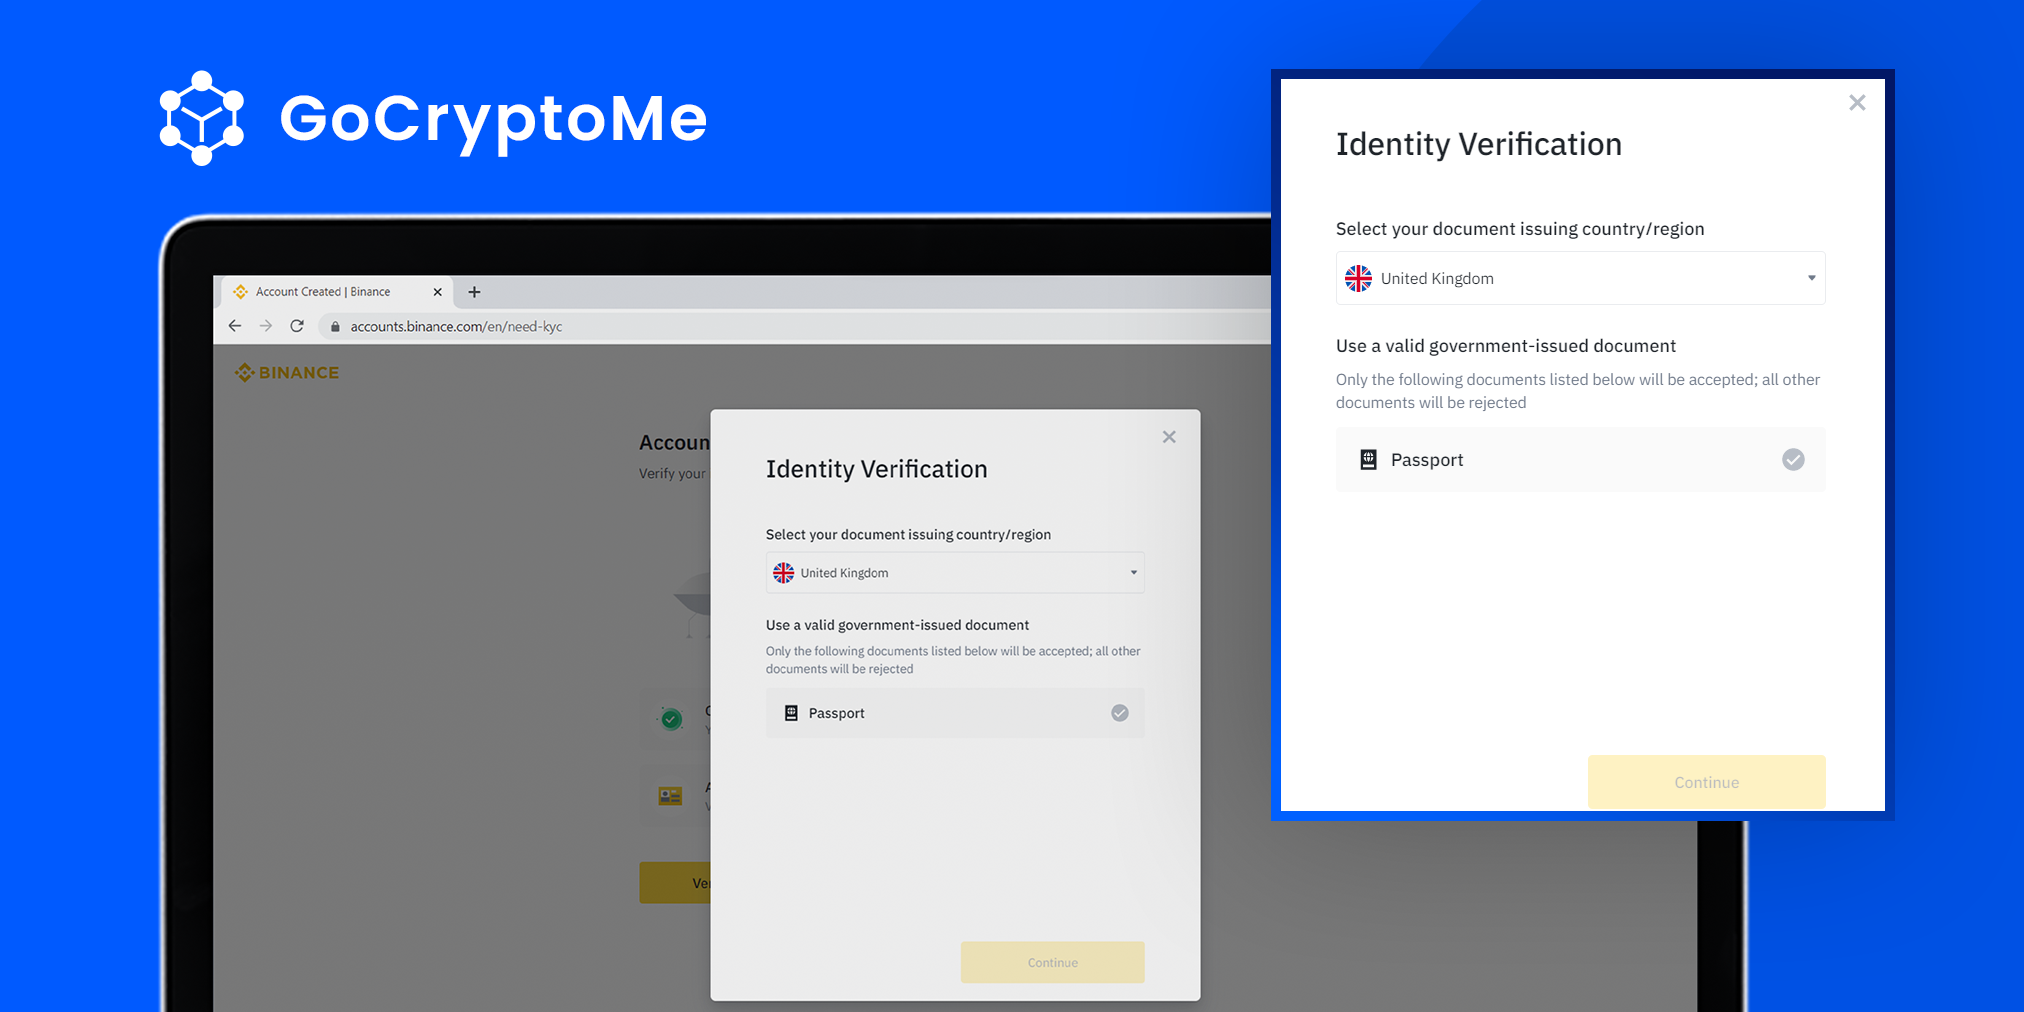
After providing your physical address, you’ll need to upload some identification. Different countries will allow you to upload a variety of documents like a Passport, a Driver’s Licence or a National Identity Card. Click ‘Continue’ and follow the prompts to upload your documents.
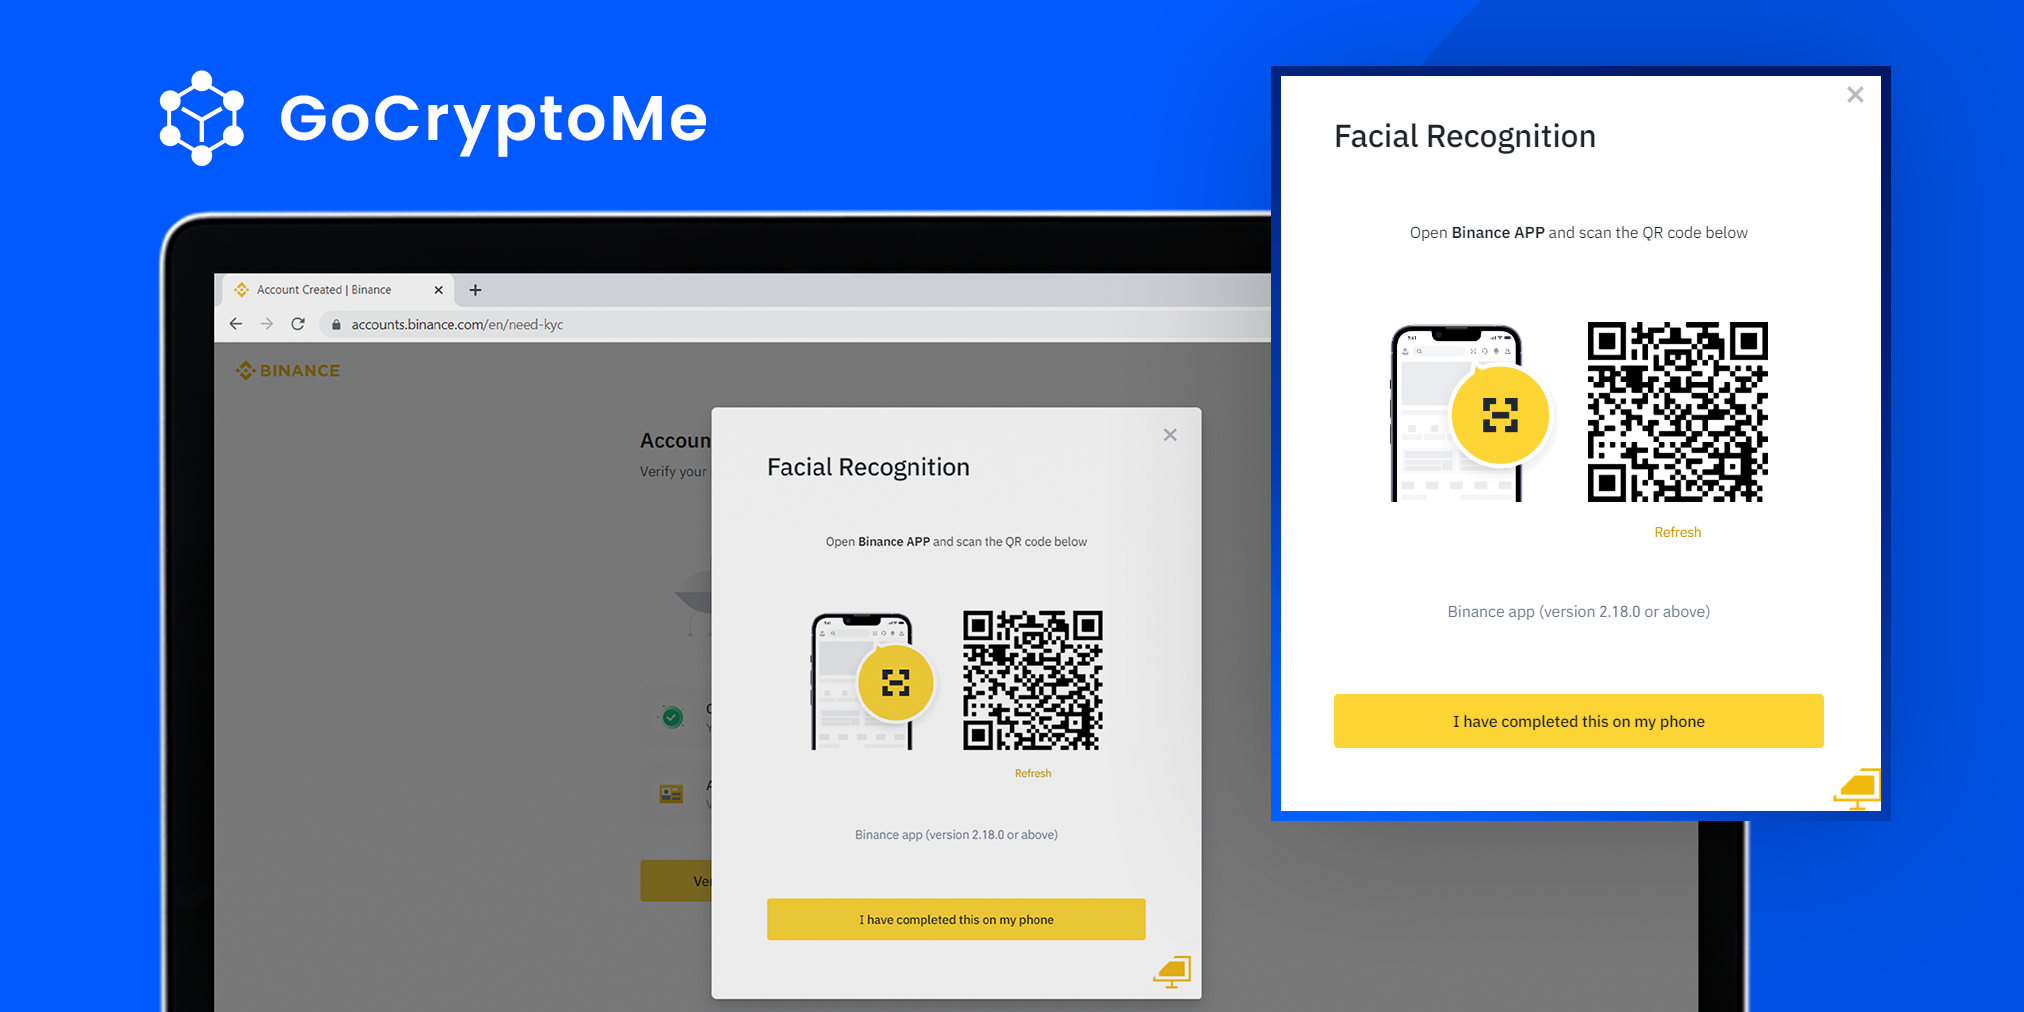
At some stage during the KYC process Binance might ask you to complete certain steps, like taking a selfie for facial recognition, using your mobile. To do so, you can simply scan the provided QR code with your mobile device and follow the prompts. When you’ve finished, come back to this page and click ‘I have completed this on my phone’.
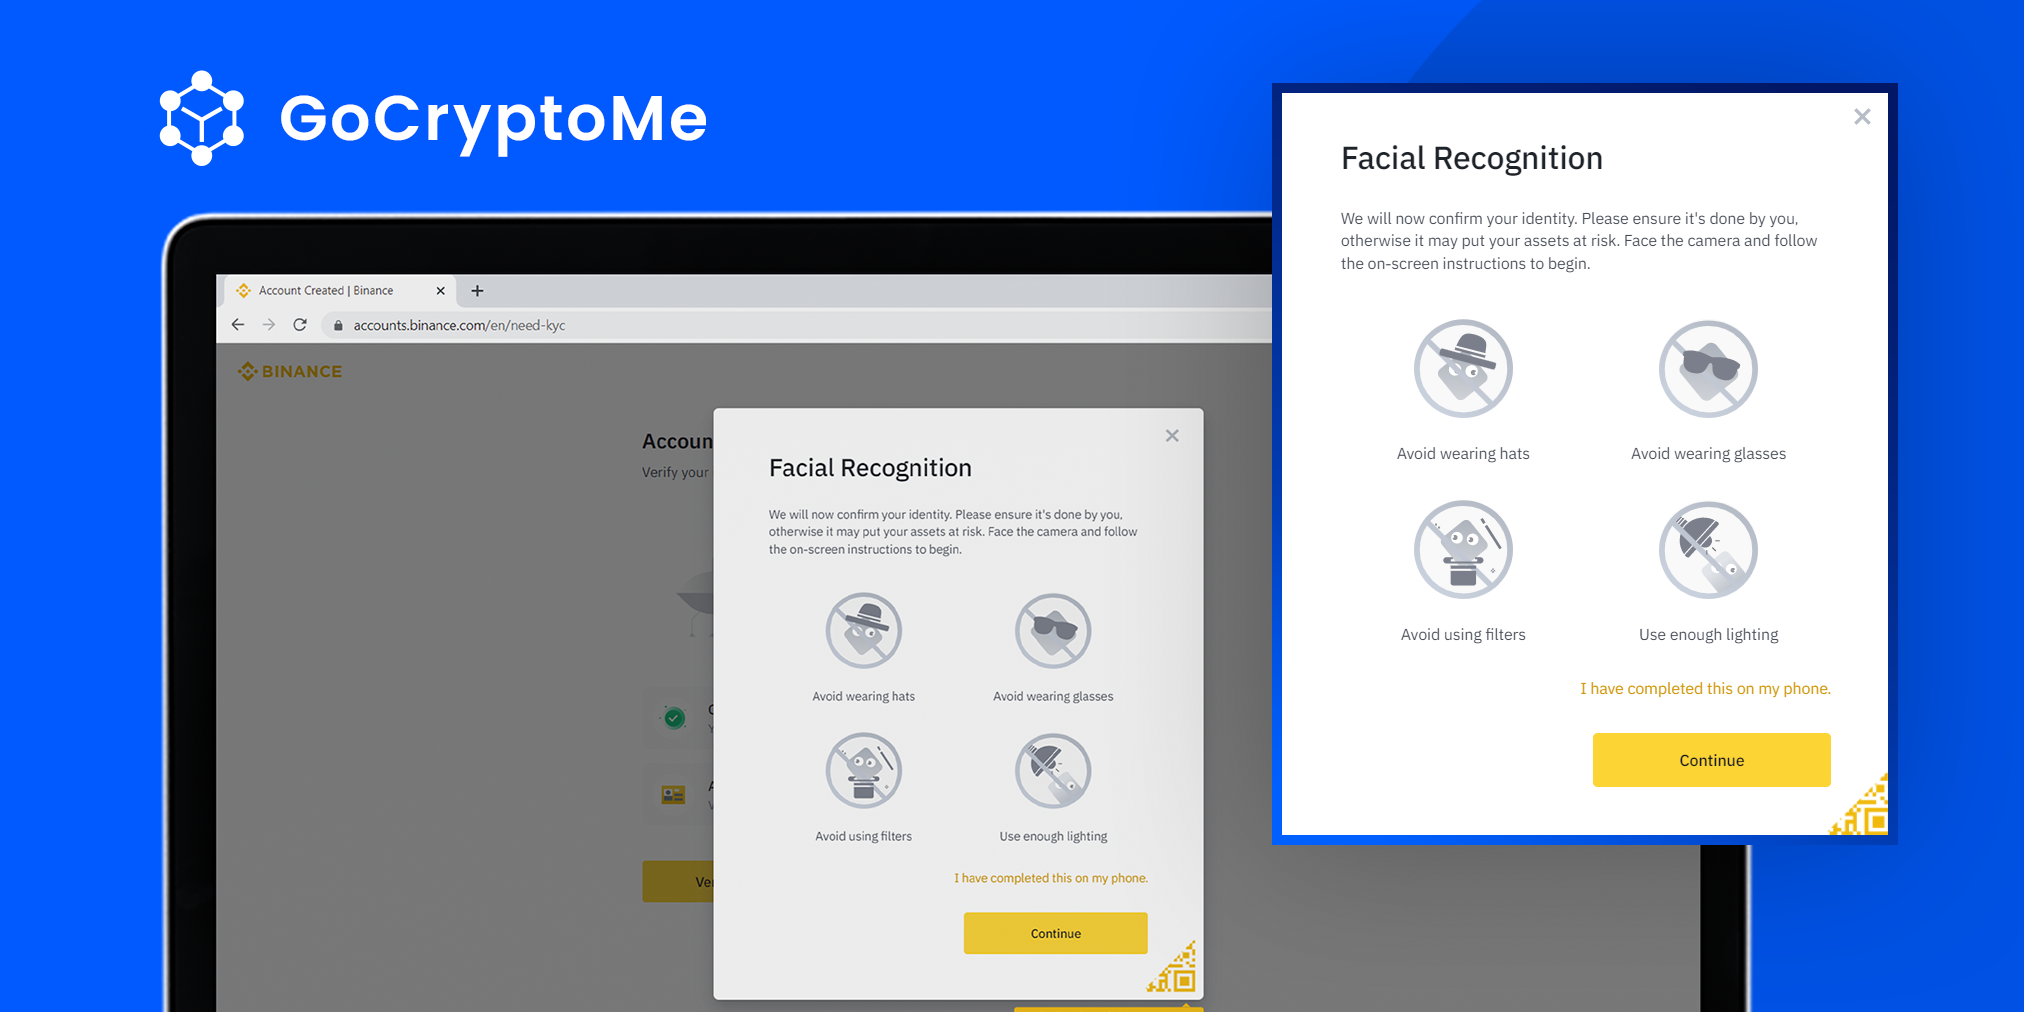
If you prefer to continue on a desktop, simply click the monitor icon in the bottom-right corner of the box. Read the important instructions and click ‘Continue’ to register your picture.
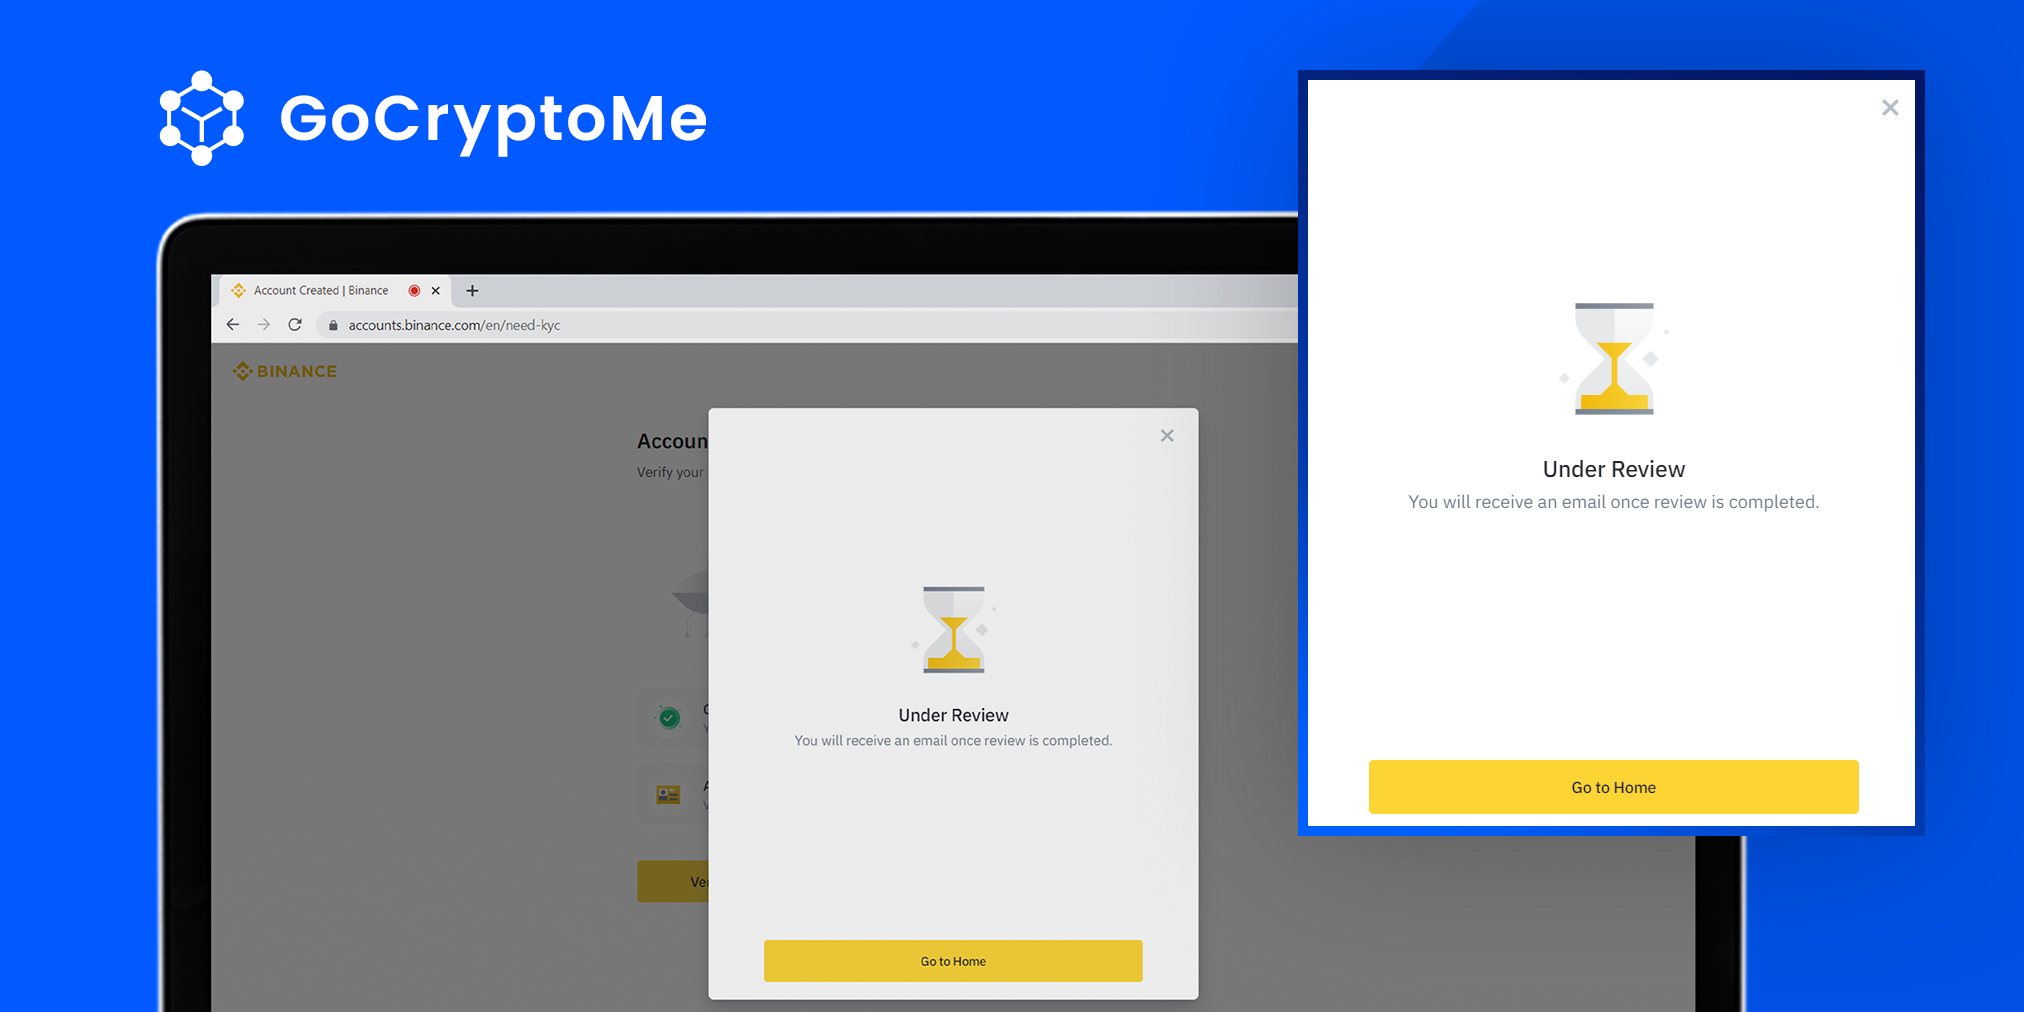
After you’ve finished this step, your KYC procedure will be complete and you’ll have full access to the rest of the Binance site. Please note it may take anywhere from 15 minutes to 10 days for your documents to be verified.
We’re now one step closer to helping those in need through charitable campaigns on GoCryptoMe.
Step 3: Buy BNB using your Binance Account
Now you’ve successfully created and verified your Binance account, it’s time to buy some BNB. BNB is a cryptocurrency that is needed to use the Binance Smart Chain network.
Anytime you want to send money to a friend or family member, pay for something online using cryptocurrency or donate to a charitable campaign on GoCryptoMe, you’ll need to pay a small gas fee. Gas fees on the Binance Smart Chain should never cost more than a few cents, and they’re required to ensure the network continues working properly.
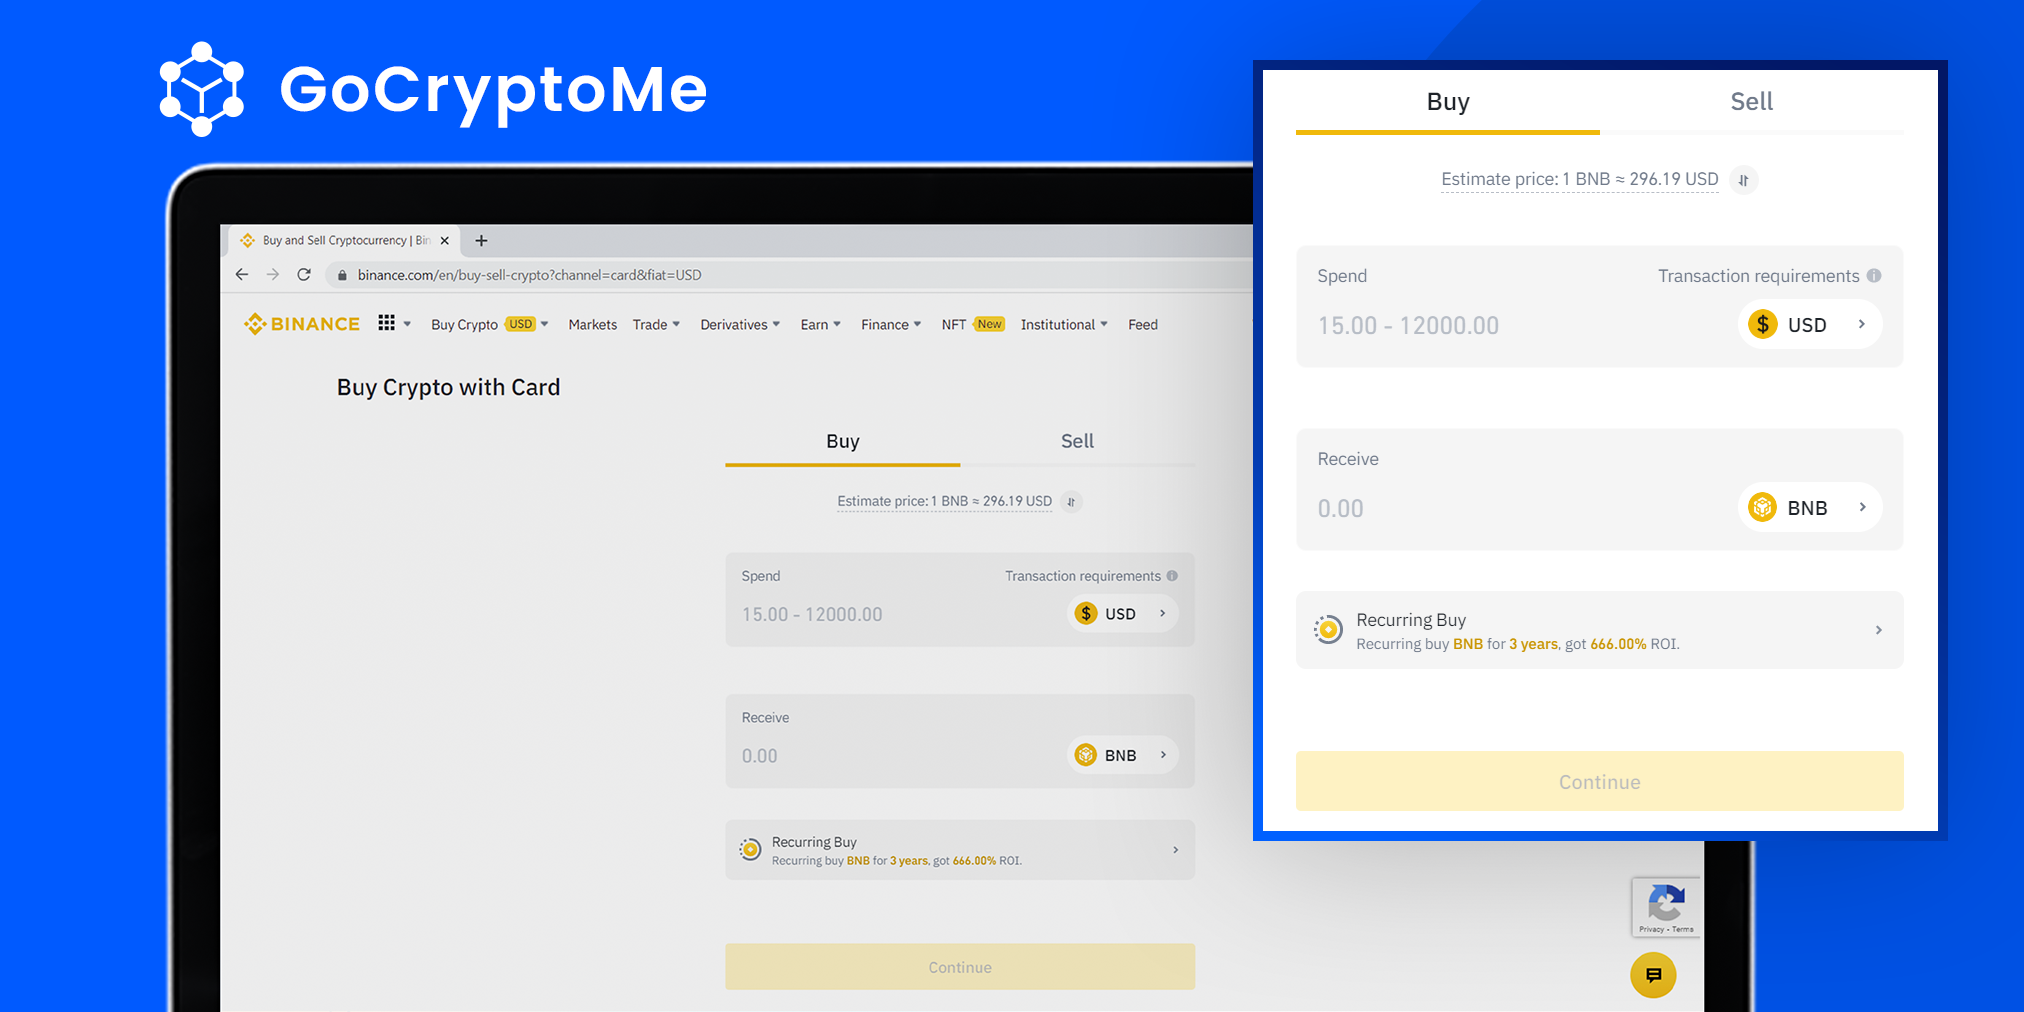
To buy BNB through your new Binance account, select Credit/Debit Card under the ‘Buy Crypto’ tab in the header menu. There are several other options, including Bank Transfer.
You’ll be presented with a simple buying window. Type in the amount of money you’d like to purchase BNB with in the ‘Spend’ field. Then, click the receive field and select BNB from the list. You’ll be given a live exchange for your purchase telling you how much BNB you’ll receive. Click ‘Continue’.
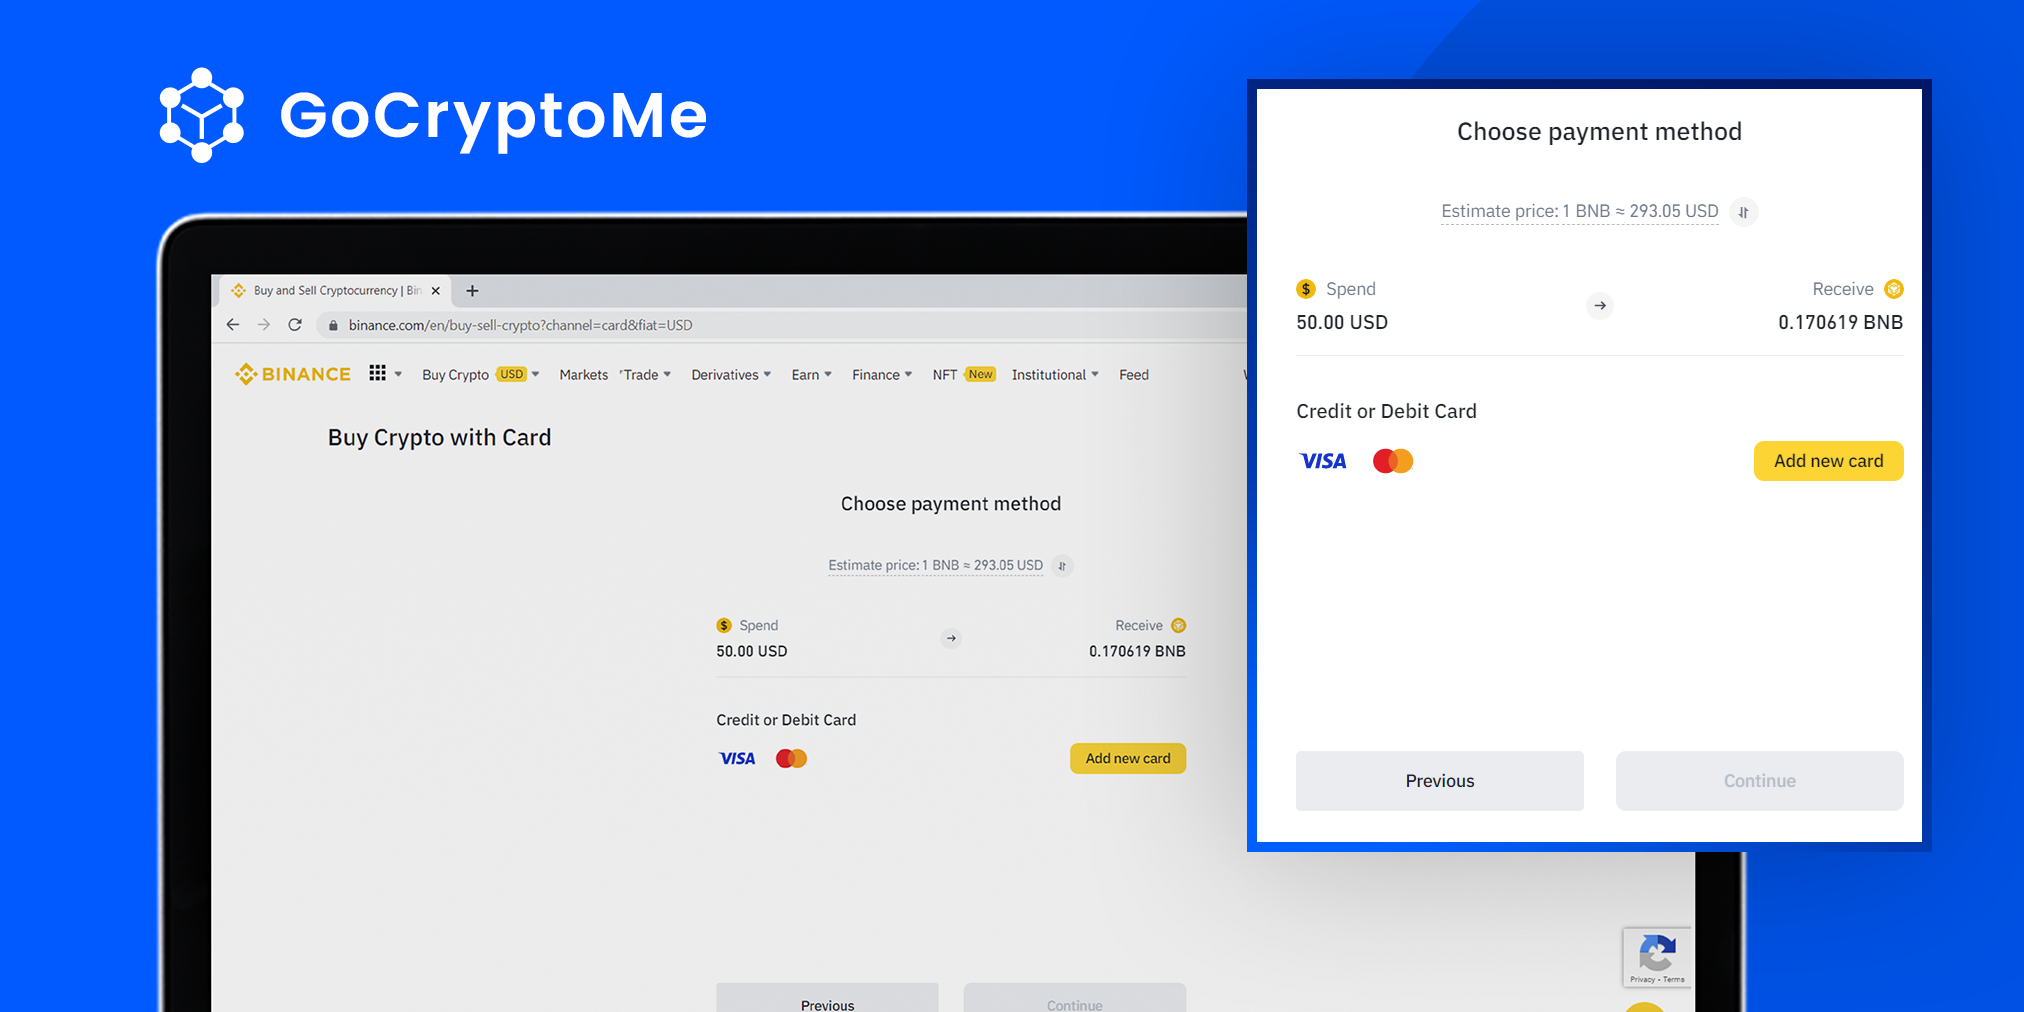
On the next page, you’ll be asked to provide some credit/debit card details in order to complete your purchase. Click ‘Add New Card’ and enter the required details. Then click ‘Confirm’ and ‘Continue’.
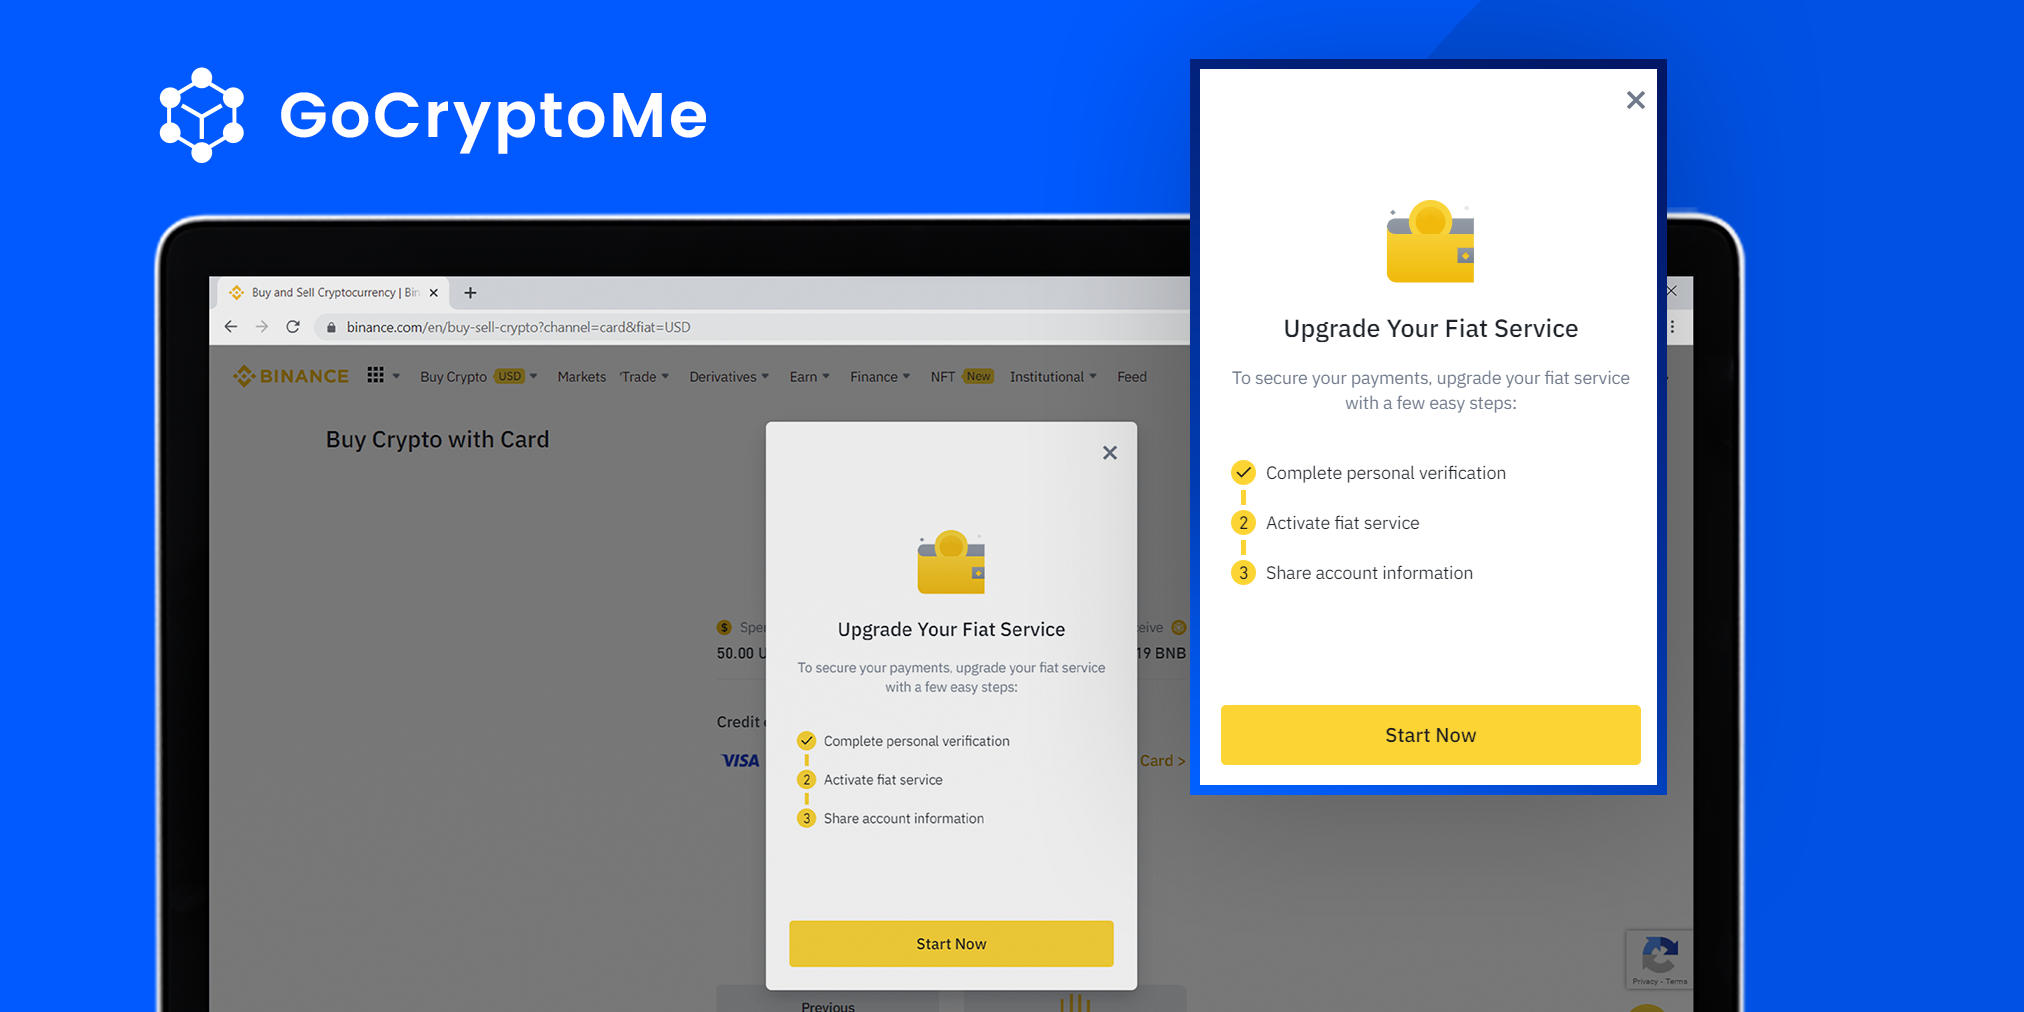
At this stage, you might be shown the following prompt to ‘Upgrade your Fiat Service’. If so, click ‘Start Now’. This will only take a few seconds. Follow the prompts and you’ll be redirected to the Payment Confirmation page.
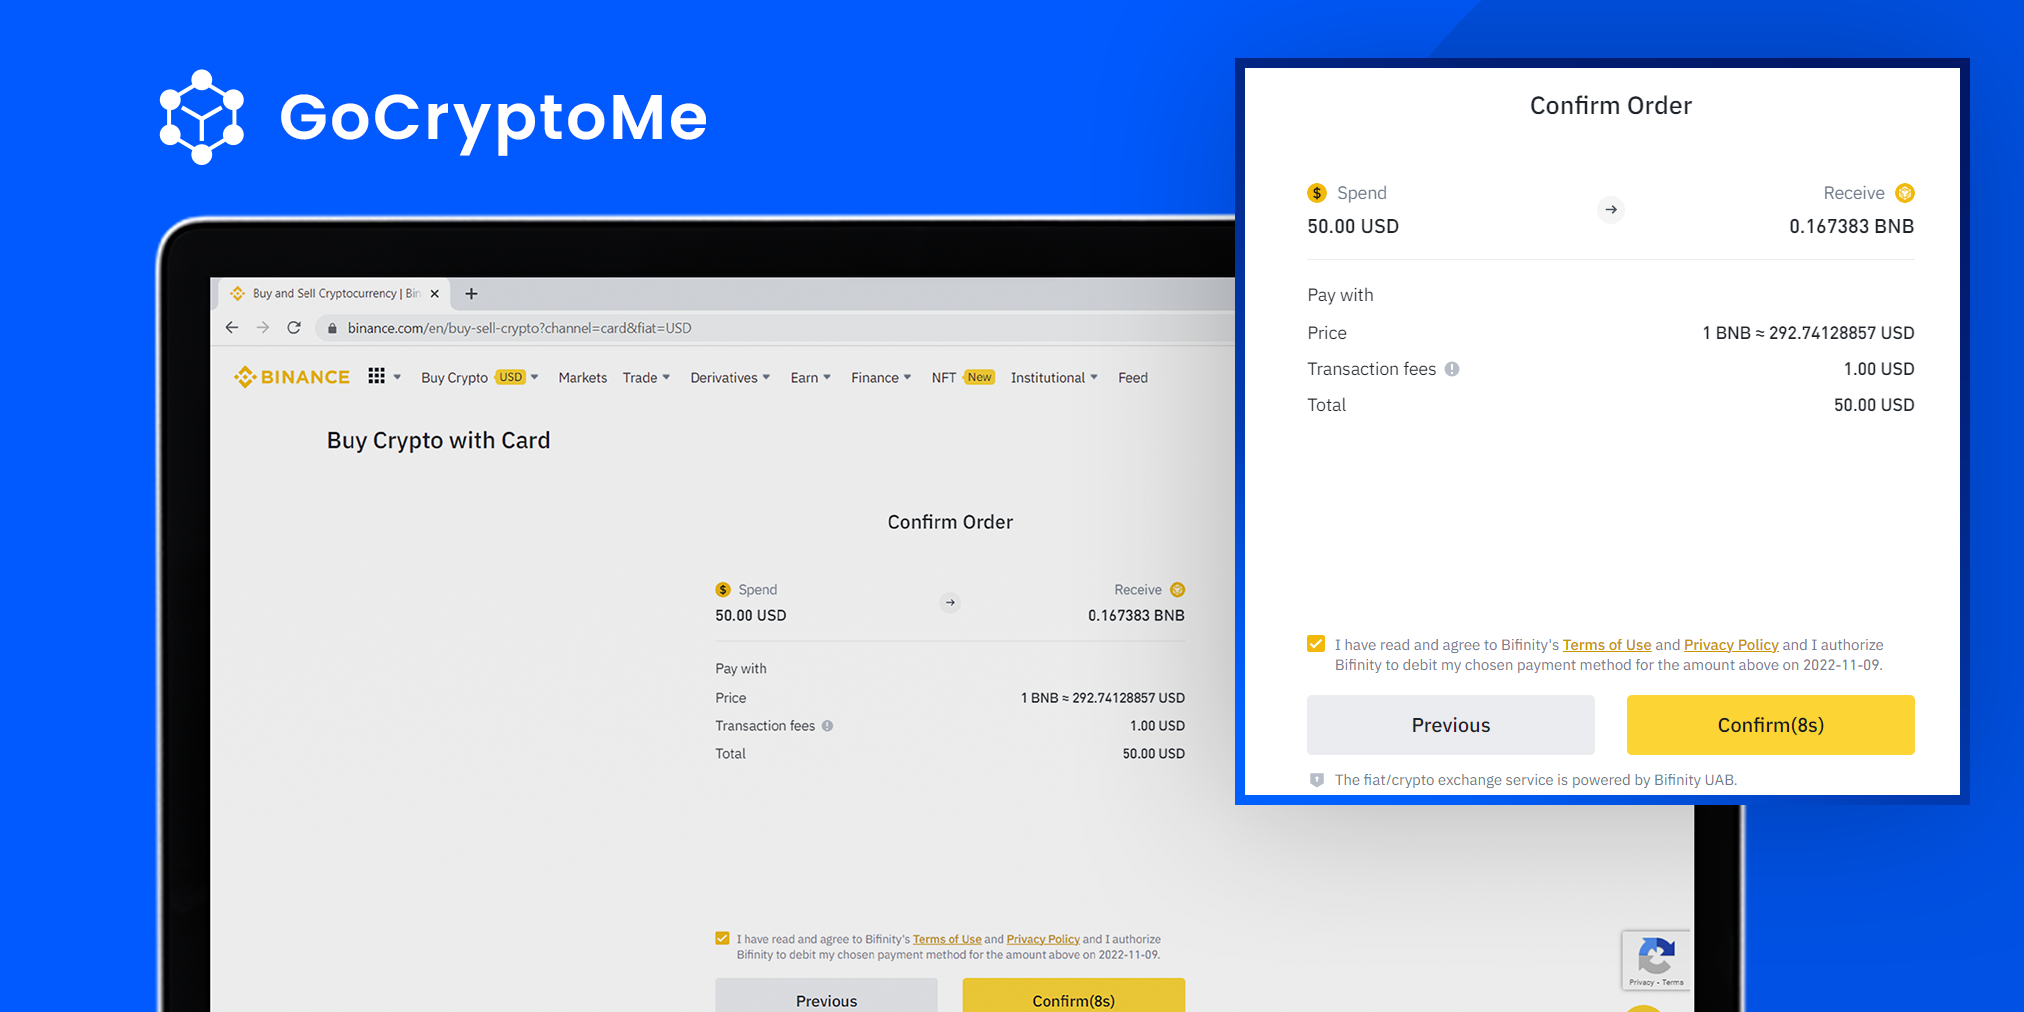
On the payment confirmation page, you’ll get one final look at the current exchange rate before completing your purchase. When you’re ready, click ‘Confirm’ to process your payment and buy BNB. Please note, you may be contacted by your card provider to verify the payment.
Step 4: Withdraw your BNB to your Crypto Wallet
We’ve just successfully bought BNB through the Binance exchange. The final step now is to withdraw your purchased BNB to your crypto wallet.
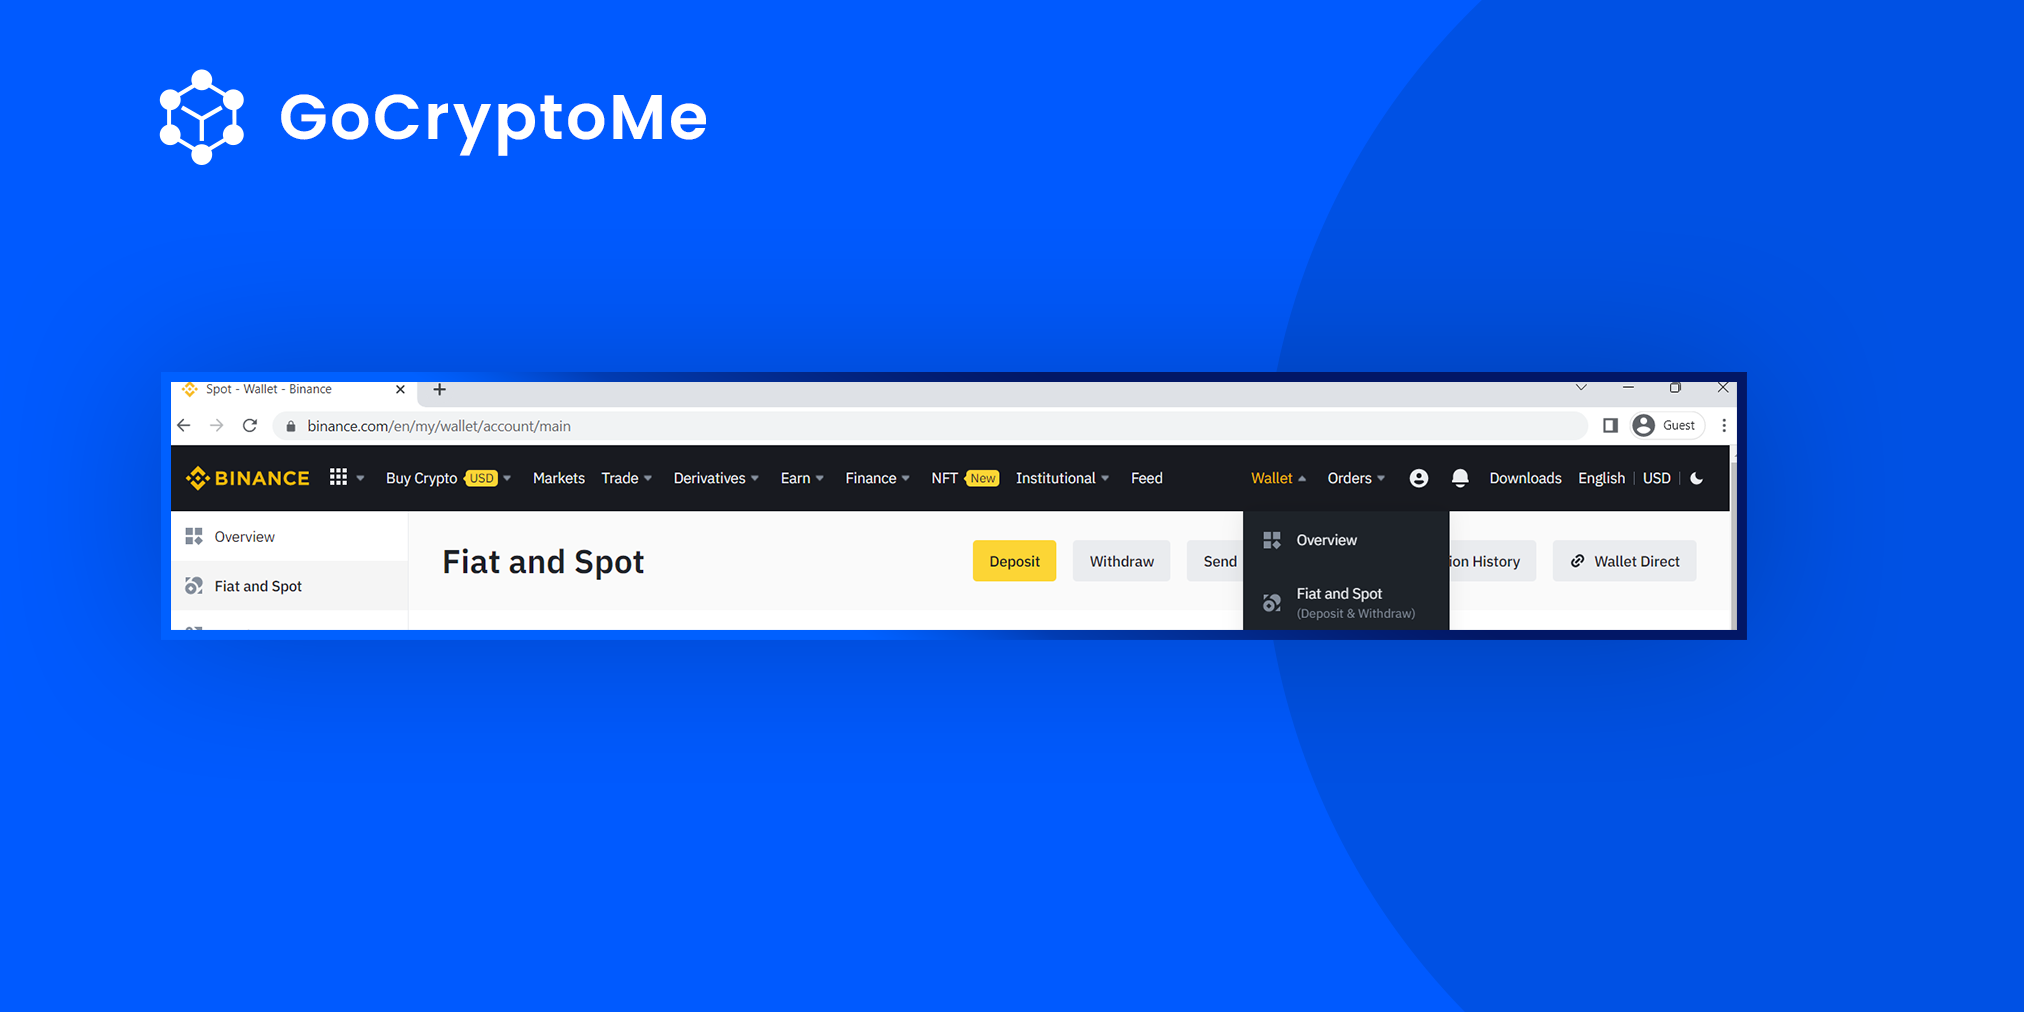
Click ‘Fiat & Spot’ under the ‘Wallet’ tab in the header menu.
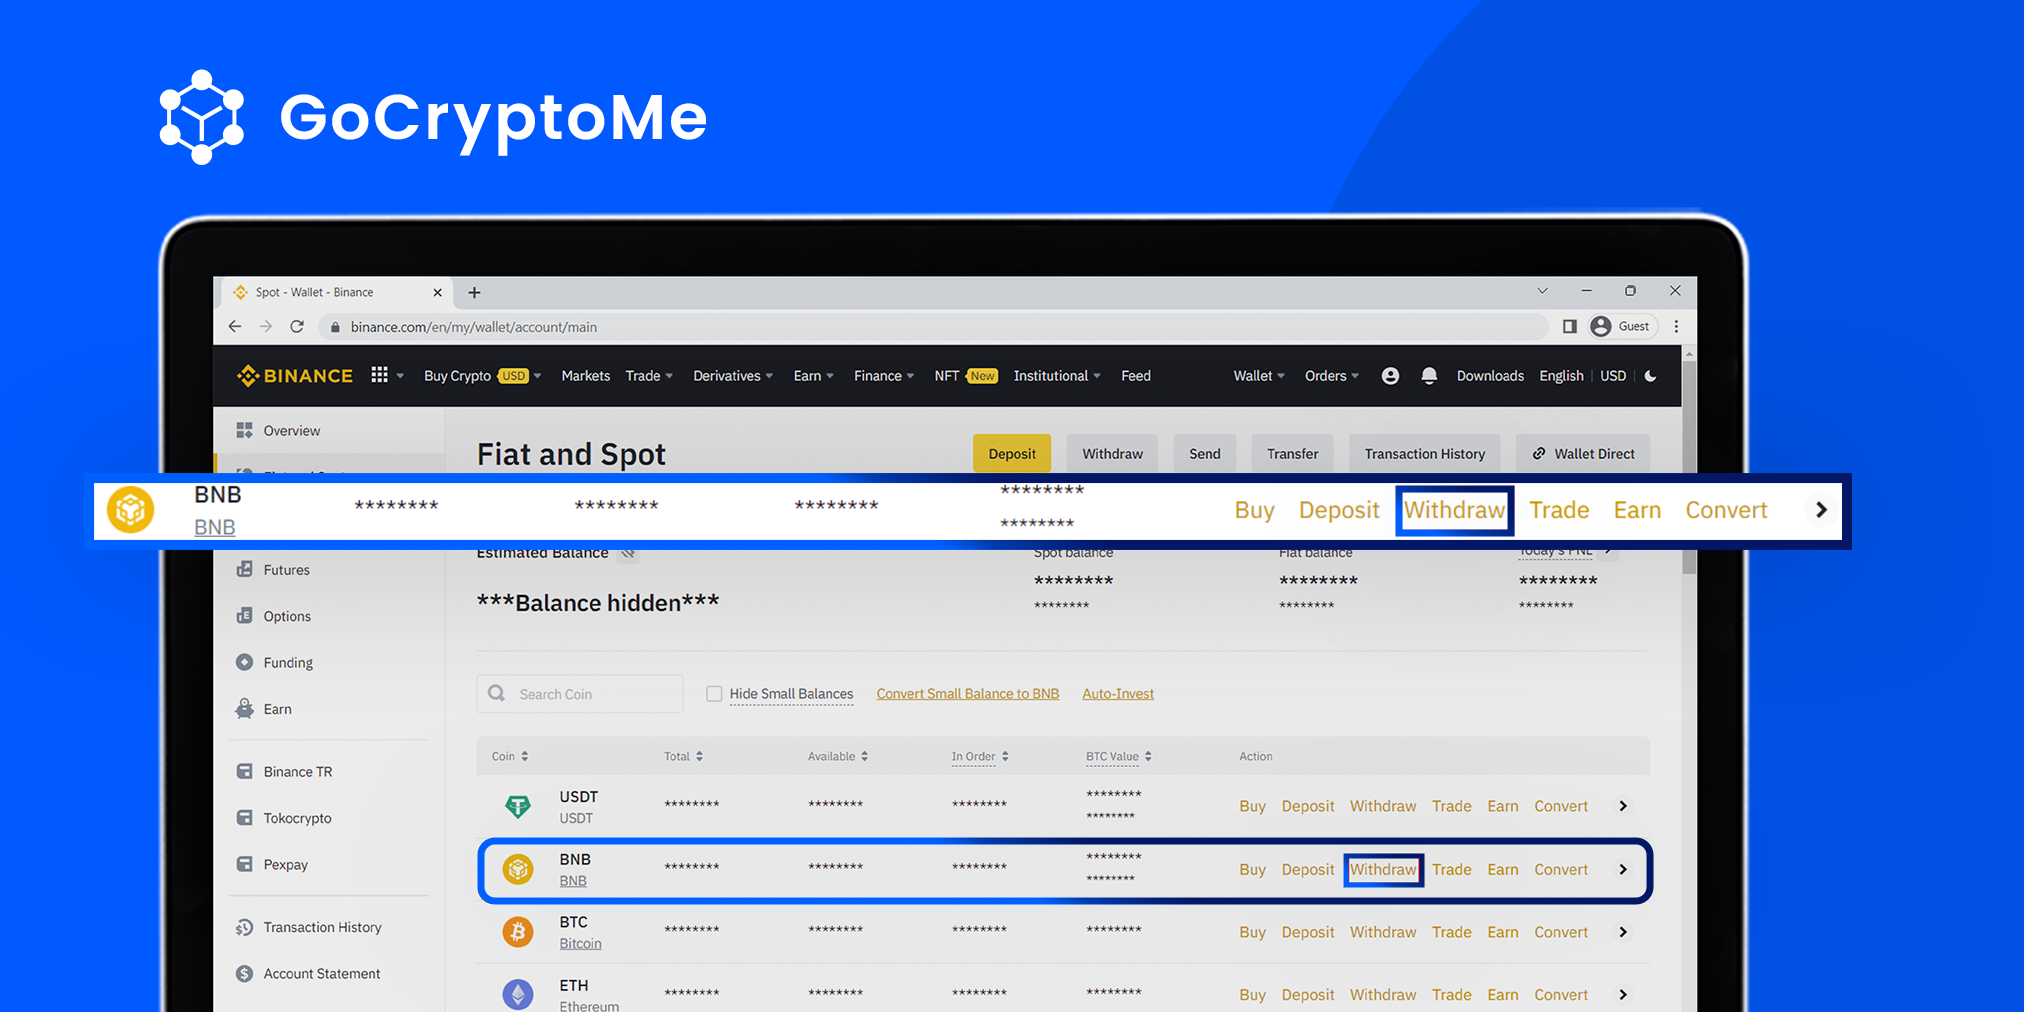
On the next page, scroll down the page until you see BNB, at the end of the row click ‘Withdraw’.
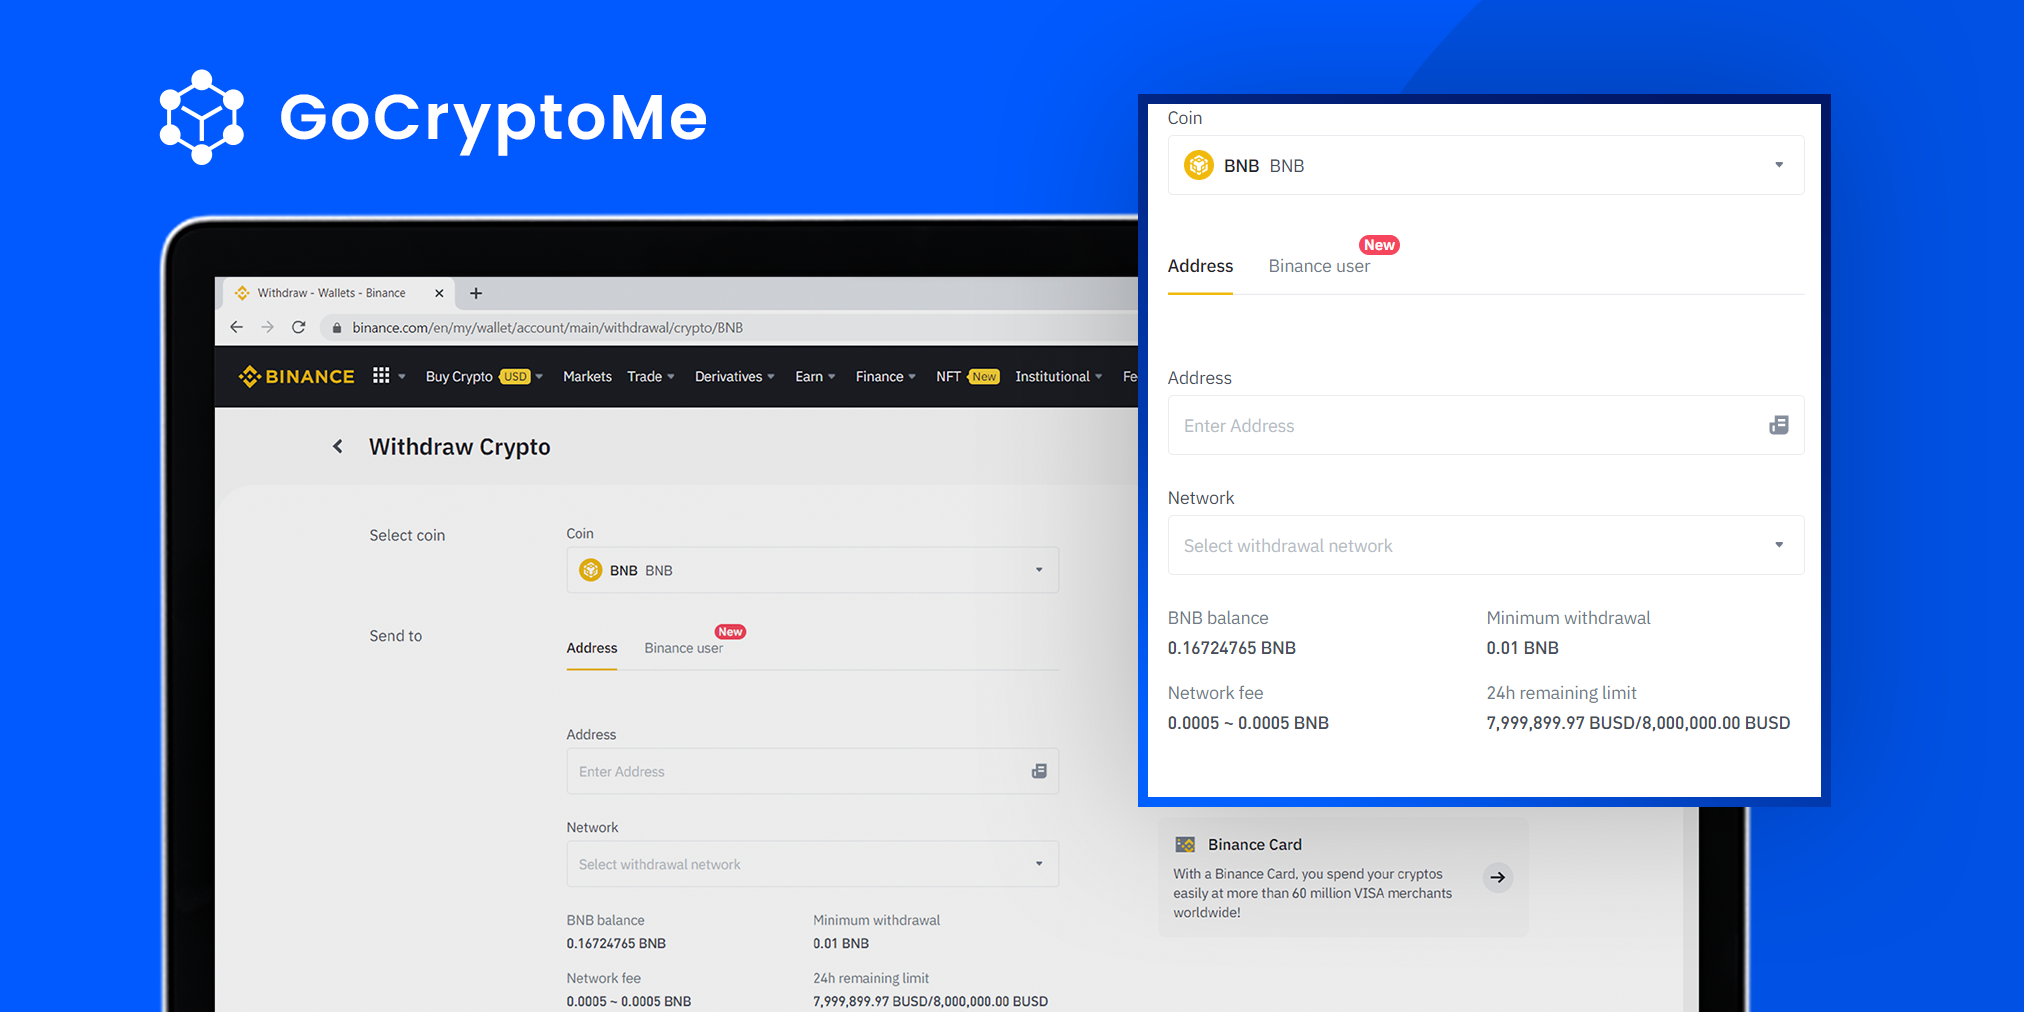
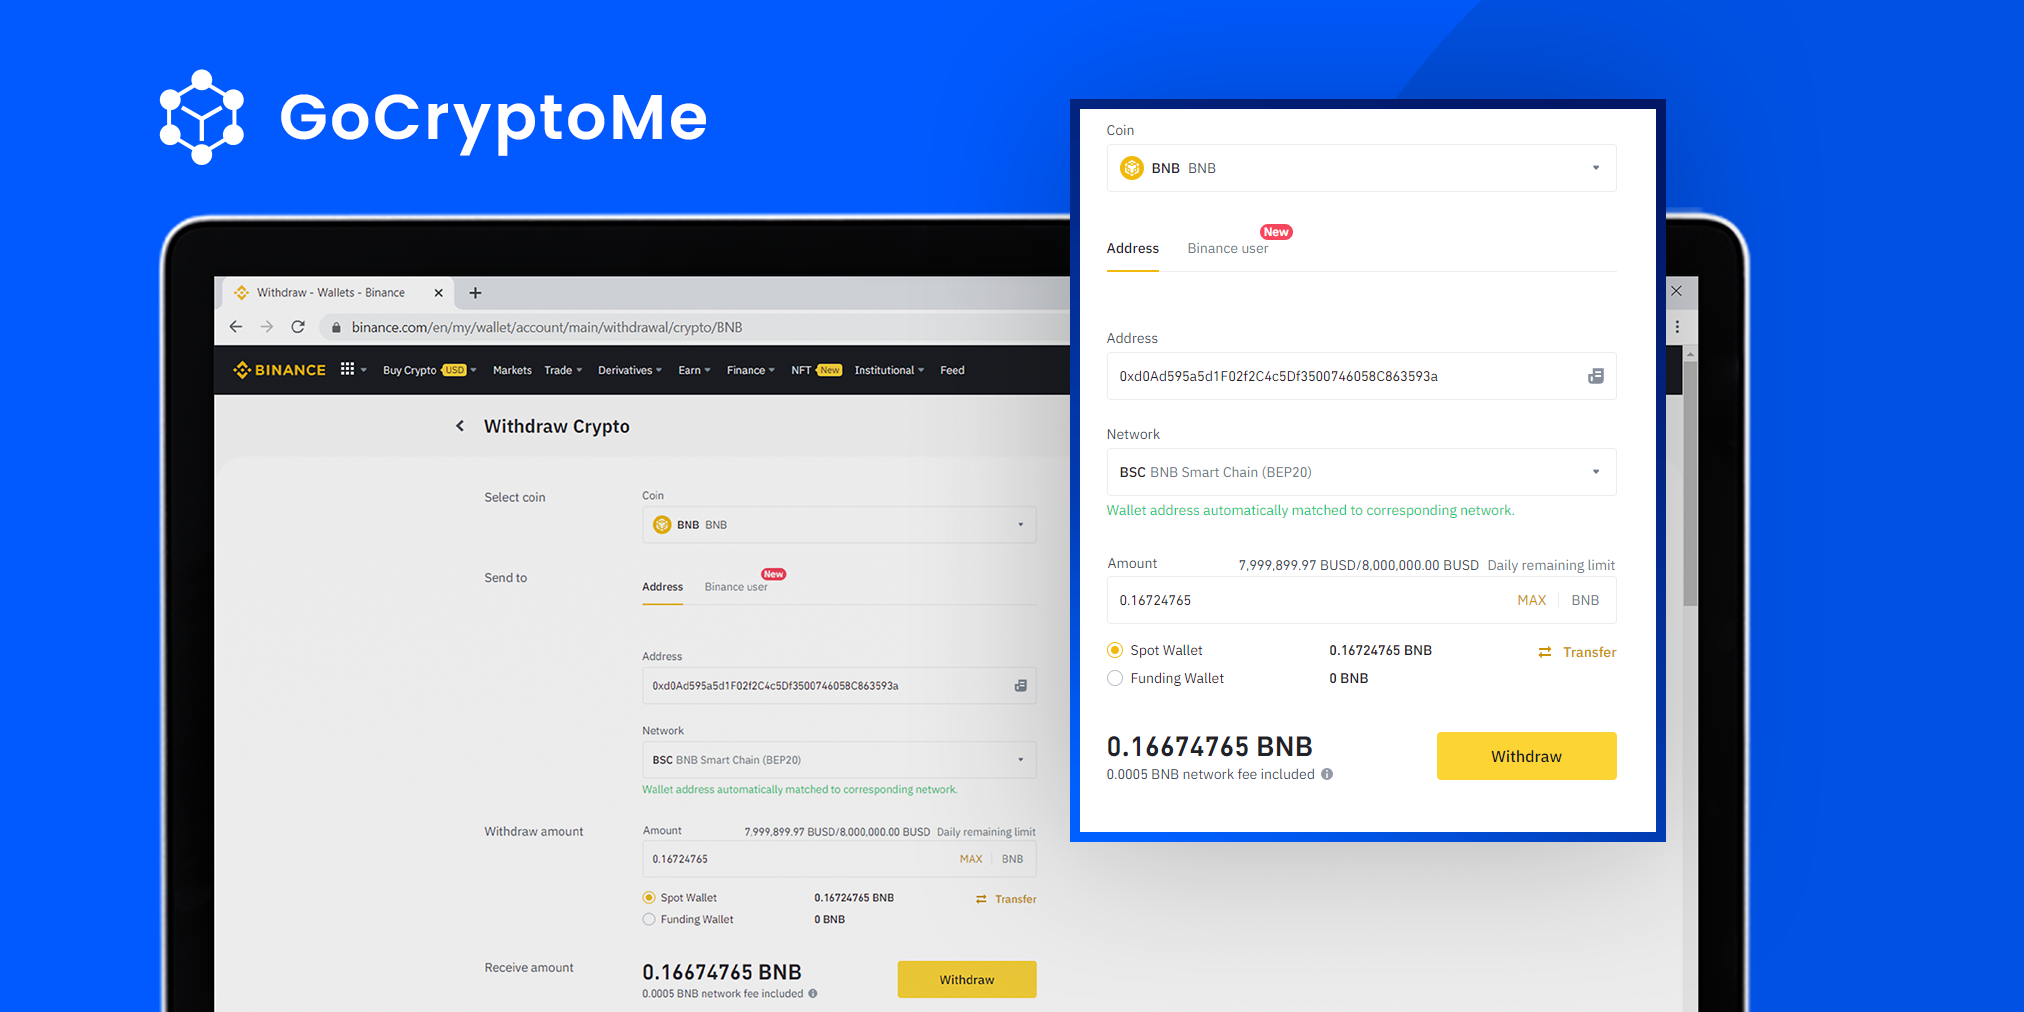
On the next page, you’ll need to Paste your crypto wallet address into the ‘Address’ field provided.
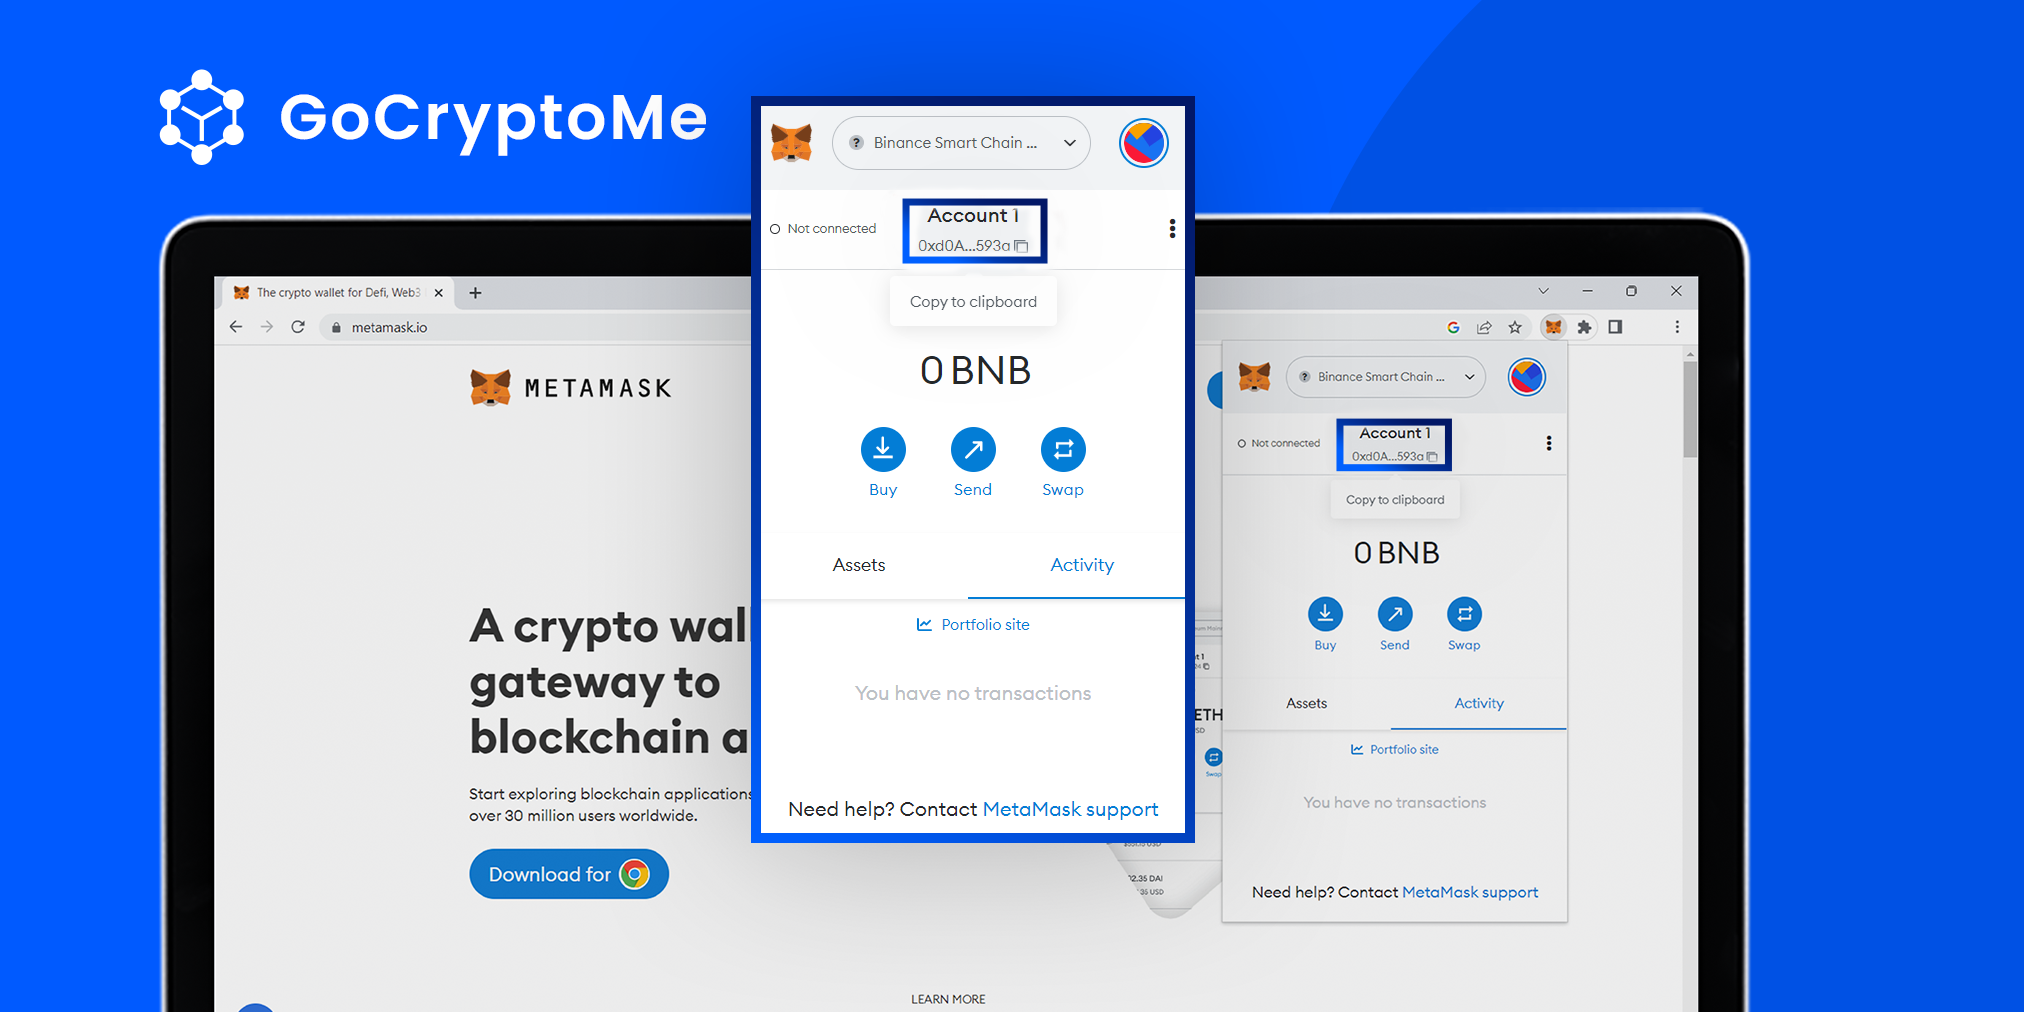
To find your crypto wallet address, you’ll need to open your MetaMask extension or TrustWallet App. On MetaMask, simply click the address starting with ‘0x’ underneath Account1, then paste the address into the Address field.
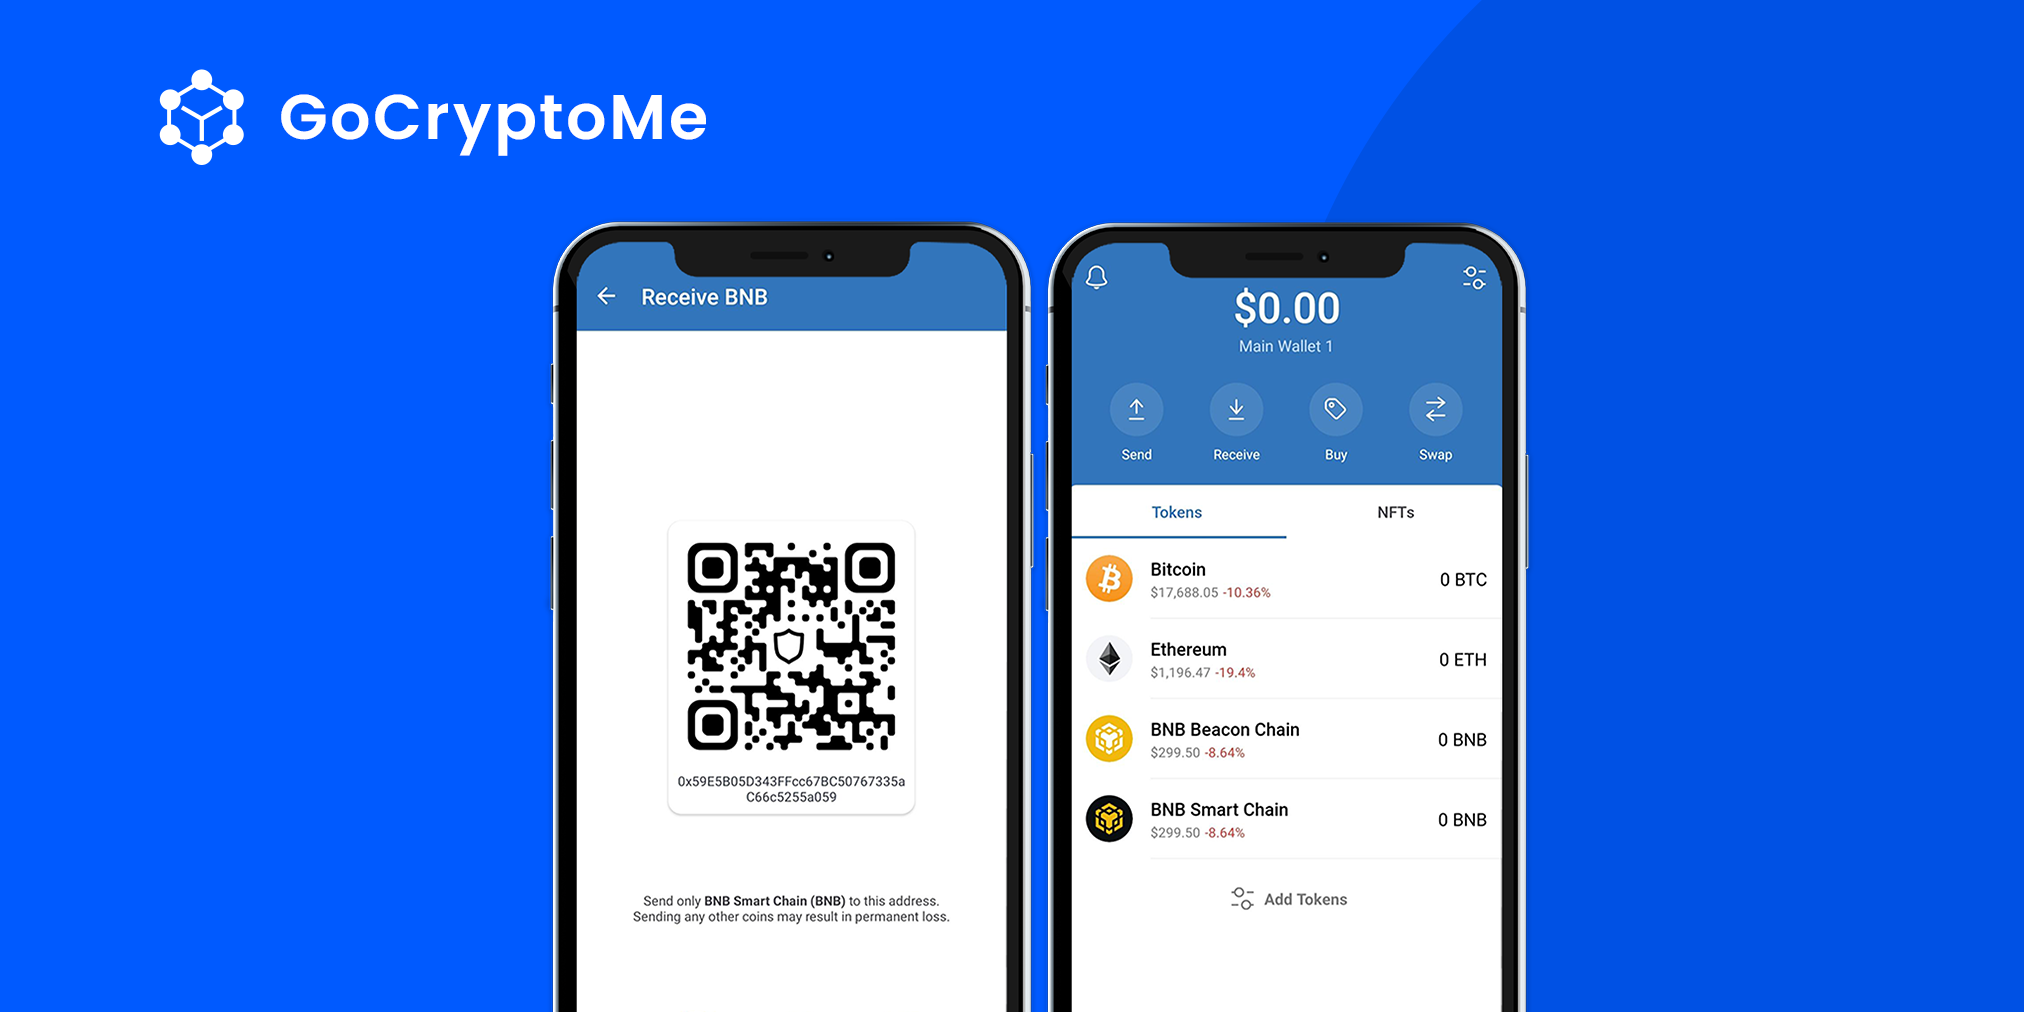
On TrustWallet, from the app homepage tap ‘Receive’ and select BNB Smart Chain from the list of cryptocurrencies. Then copy the address using the button provided and paste it into the Address field.
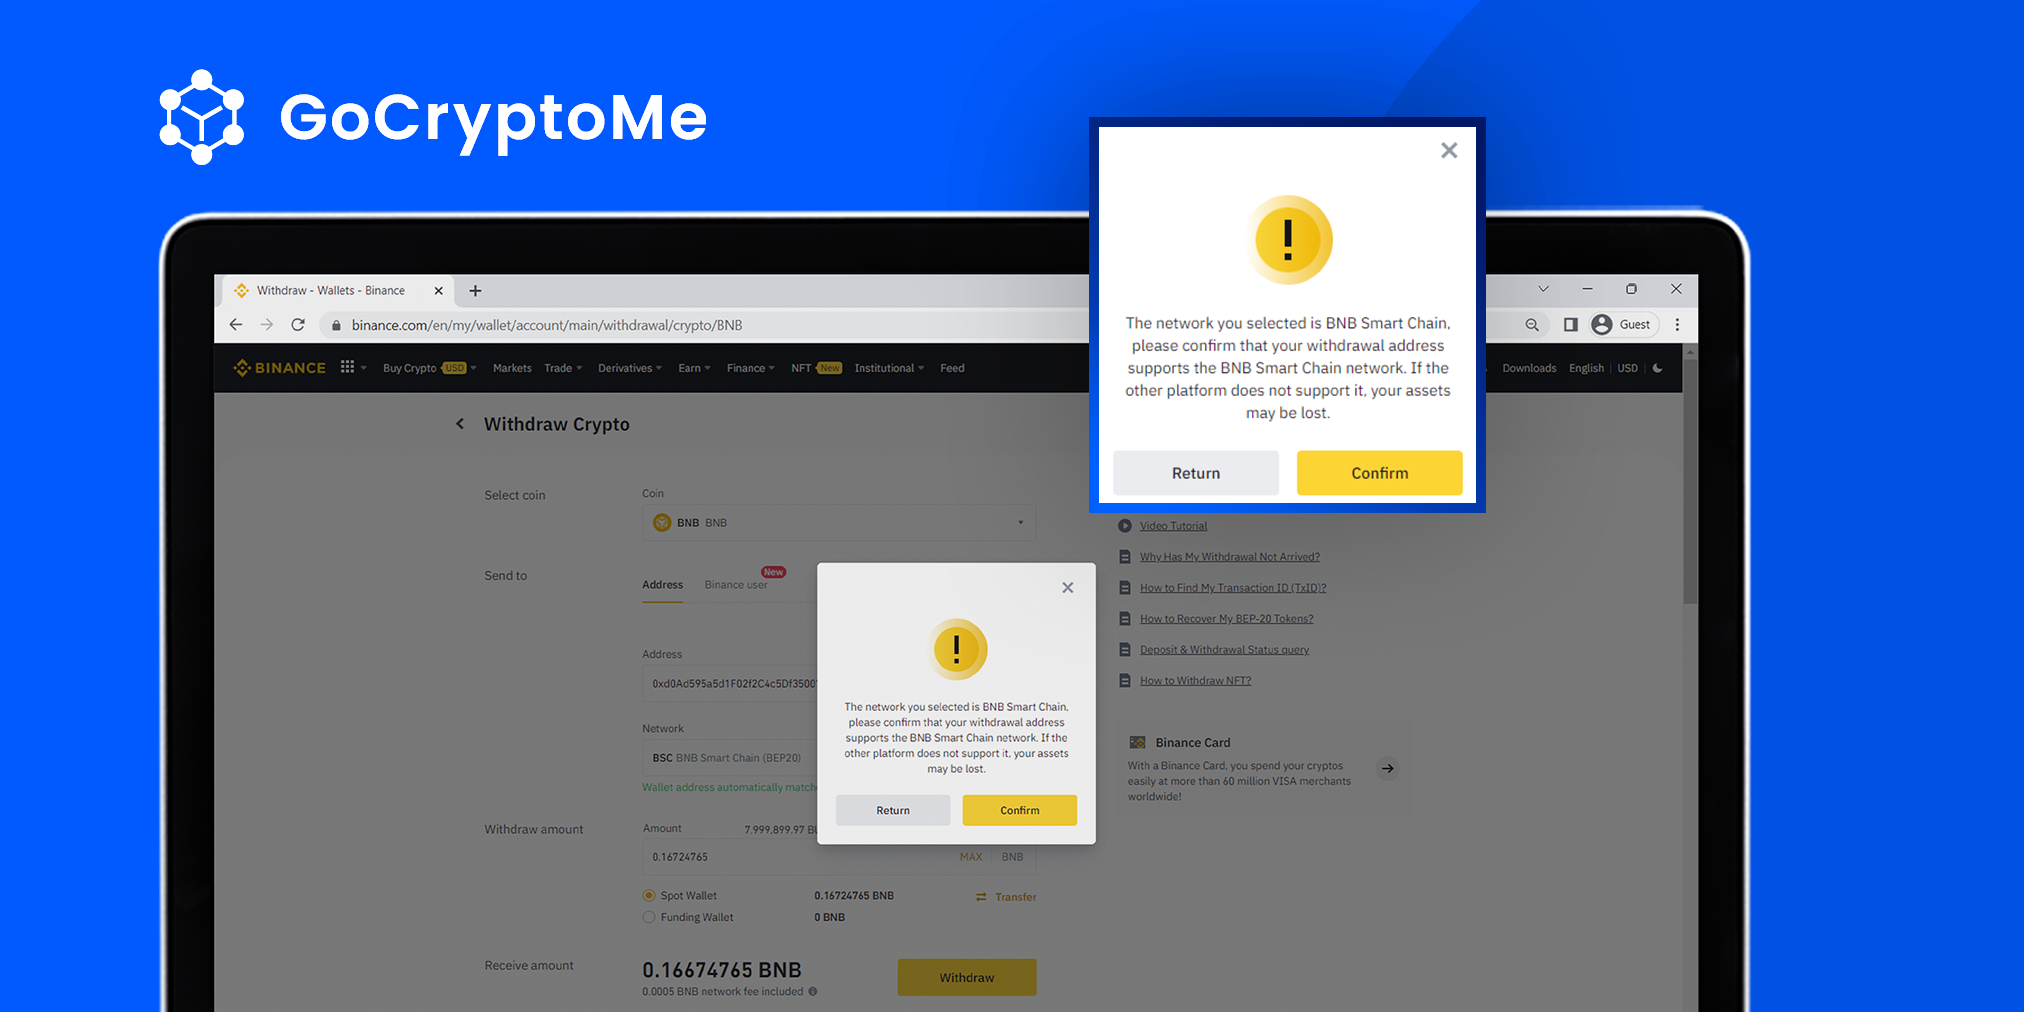
After pasting your Wallet address, ensure that the network is set to the Binance Smart Chain (BEP-20). Then click ‘Withdraw’ and confirm that your wallet is correctly configured with the Binance Smart Chain. If you haven’t done this, don’t worry. It’s a very easy fix and you can learn how in this guide.
You may need to input a six-digit verification code that was sent to the email address connected to your account. If so, type the code into the field provided to confirm your withdrawal.
Your withdrawal will be processed and your BNB should arrive in your designated crypto wallet within a few minutes.
Summary
Congratulations, you’ve just successfully taken some bold new steps into the future of the internet. Signing up to a centralized exchange is a great way to learn more about the blockchain world and some of the incredible applications this technology will have in the future.
You’ve also funded your personal crypto wallet with cryptocurrency. This can be used to instantly send funds to friends and family members anywhere in the world and buy things online. What’s more, you can now anonymously donate to charitable causes you believe in on GoCryptoMe, the world’s only completely decentralized crowdfunding platform.